Are you dreaming of juicy, sun-ripened tomatoes bursting with flavor, but lack the space or the time for a traditional garden? Or perhaps you're tired of constantly worrying about whether your tomato plants are getting enough water? Then, the world of self-watering containers might just be your gardening salvation! Let's dive in and explore how you can grow amazing tomatoes using this clever and convenient method. The Magic of Self Watering Containers for Tomato Plants Self-watering containers, sometimes called sub-irrigated planters (SIPs), are designed to provide a consistent and reliable water supply to your plants, minimizing the need for frequent watering and dramatically reducing water waste. For tomato plants, which are known for their thirstiness, this can be a game-changer! The beauty of a tomato plant self watering container lies in its simplicity and efficiency. It essentially creates a mini-reservoir beneath the soil, allowing the plant...
Ever wondered if you could recycle your love for juicy, red tomatoes into a whole new batch? It's not just a whimsical thought! Growing tomatoes from tomato is entirely possible, though it requires a bit more patience and technique than starting from seeds. But the payoff? A connection to your food that's deeply satisfying, and a fun gardening experiment to boot. Let's dive into the wonderful world of tomato propagation!
Growing Tomatoes From Tomato: A Gardener's Guide
Is it Possible to Grow Tomatoes From a Tomato?
Absolutely! While it might seem unconventional,growing tomatoes from a tomato is a viable method of propagation. The key lies in understanding that you're essentially germinating the seedsinsidethe tomato. Think of it as a head start for those tiny embryos eager to sprout.
There are a few things to keep in mind, though. The variety of tomato plays a crucial role. Hybrid tomatoes, while delicious, often don't "come true" from seed. This means the resulting plants might not produce tomatoes that are identical to the parent fruit. For the best results, opt forheirloom or open-pollinated tomatoes. These varieties are known for their genetic stability, ensuring that your new plants yield tomatoes similar to the one you started with.
Choosing the Right Tomato:Setting the Stage for Success
Not all tomatoes are created equal when it comes to propagation. Here's what to look for when selecting your "parent" tomato:
Variety: Heirloom or open-pollinated varieties are your best bet. Look for names like 'Brandywine', 'Roma', 'San Marzano', or 'Cherokee Purple'. Avoid hybrids. Ripeness: Choose a tomato that's fully ripe, even slightly overripe. This indicates that the seeds inside are mature enough to germinate. Health: Select a tomato that is free from blemishes, bruises, or signs of disease. A healthy tomato will have healthy seeds. Source: If possible, use tomatoes from your own garden or a local farmer's market. This gives you more control over the growing conditions and reduces the risk of pesticide contamination.
The Step-by-Step Guide to Growing Tomatoes From Tomato
Ready to get your hands dirty? Here's a detailed guide togrow tomato plants from an existing tomato:
1. Extracting the Seeds
This is the initial crucial step. Forget the messy squeezing-and-hoping method. Here's a refined way:
Gently slice the tomato in half horizontally. You'll notice chambers filled with seeds and a gelatinous substance. Use a spoon to scoop out these seeds and pulp into a clean jar or container. Add a small amount of water to the jar – just enough to cover the seeds. This is where the magic begins.
2. Fermenting the Seeds
Now comes the fermentation stage. This process helps to remove the gelatinous coating around the seeds, which can inhibit germination. It also helps to kill any seed-borne diseases.
Leave the jar uncovered at room temperature for 3-4 days. You'll notice a layer of mold forming on top – don't be alarmed, this is normal. Gently stir the mixture daily. After a few days, the mixture will start to smell a bit funky – another sign that the fermentation process is working.
The fermentation process is vital for the seeds. If you skip this step, the seeds may not germinate. Furthermore, the mold that grows during fermentation helps to break down germination-inhibiting compounds present in the tomato pulp. This results in a higher success rate when you finally plant the seeds.
3. Cleaning and Drying the Seeds
Once the fermentation is complete, it's time to clean the seeds. Add more water to the jar and stir vigorously. Allow the seeds to settle to the bottom. Carefully pour off the pulpy water. Repeat this process several times until you have clean seeds at the bottom of the jar.
Spread the clean seeds on a paper towel or coffee filter and allow them to dry completely. This can take several days. Make sure the seeds are in a well-ventilated area and out of direct sunlight. Once the seeds are dry, store them in an airtight container in a cool, dark place until you're ready to plant them.
4. Sowing the Seeds
Now comes the fun part! Fill seed trays or small pots with a good quality seed-starting mix. Moisten the mix thoroughly. Sow the tomato seeds about ¼ inch deep and gently cover them with soil.
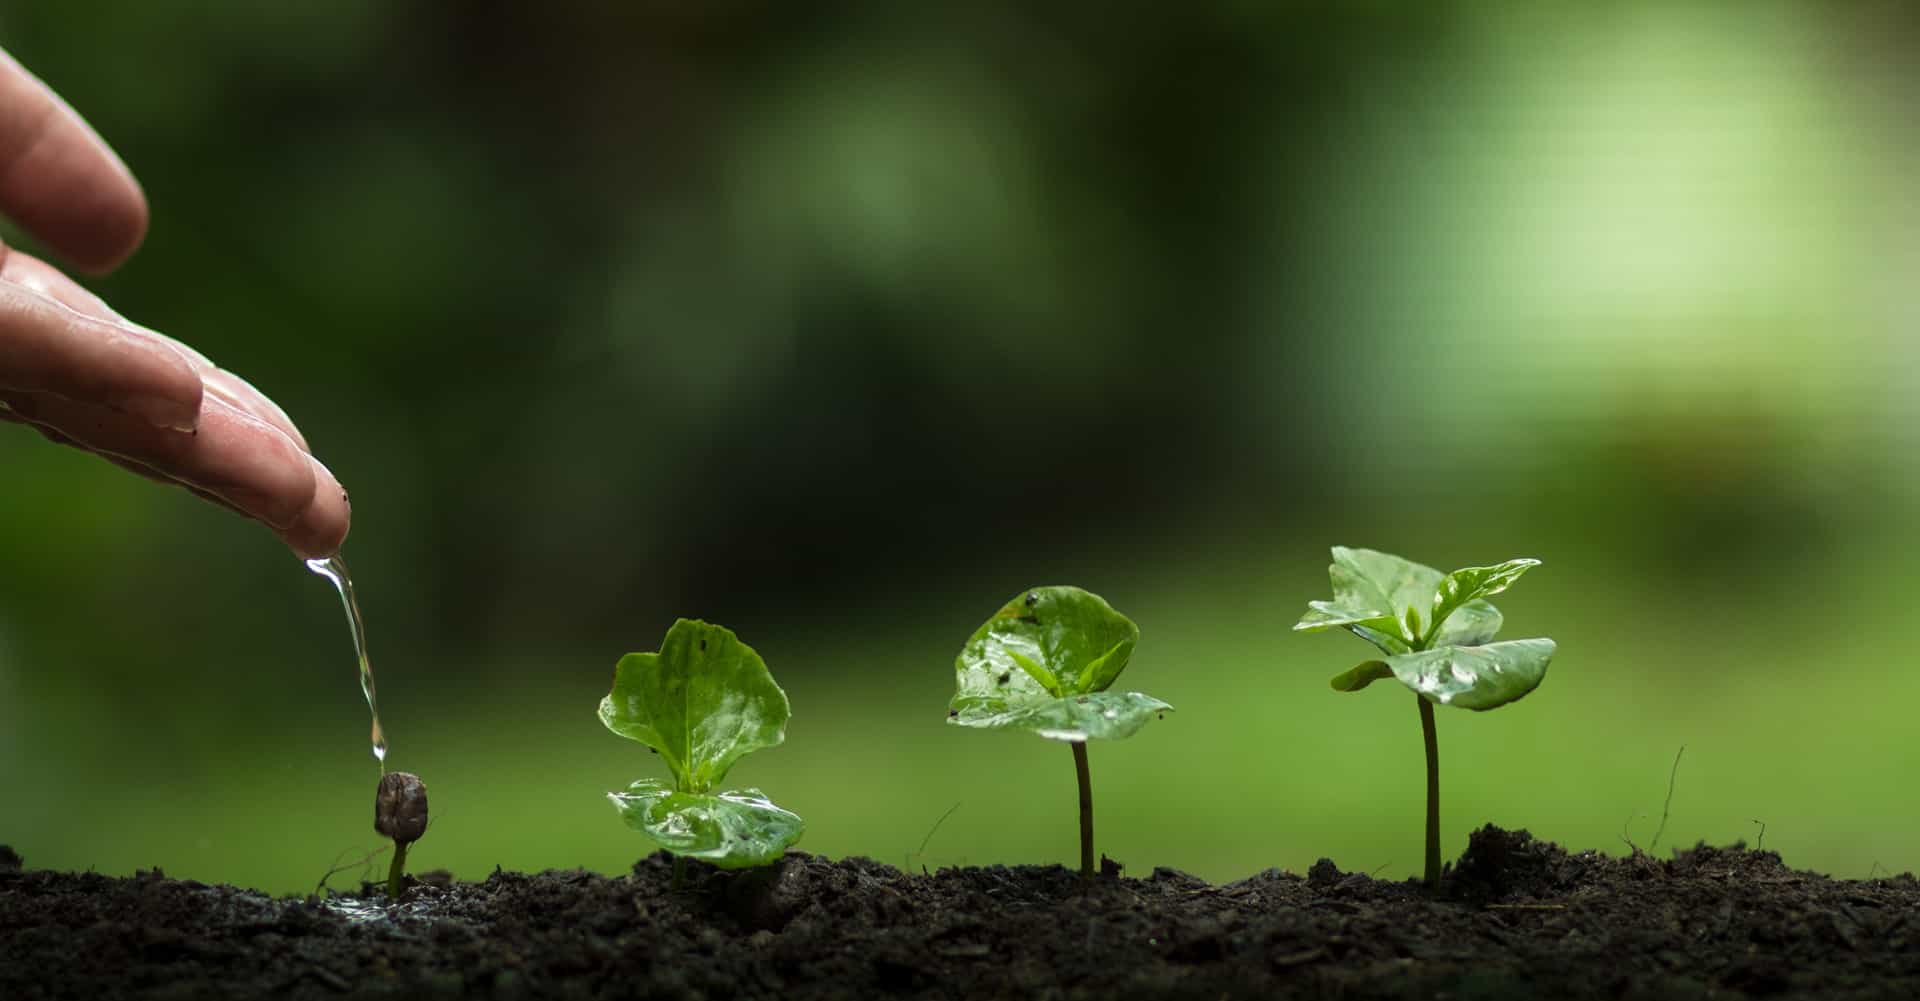
Place the seed trays or pots in a warm location (ideally between 70-80°F) and keep the soil consistently moist. You can use a heat mat to provide bottom heat and improve germination rates.
Germination typically occurs within 5-10 days. Once the seedlings emerge, move them to a bright location or under grow lights. Be careful not to overwater the seedlings, as this can lead to damping off, a fungal disease that can kill young plants.
Speaking of grow lights, if you're planning to start your tomatoes indoors, especially during the colder months, you might consider an all-in-one solution. AnAhopegarden Indoor Garden Hydroponics Growing System, a 10-pod plant germination kit with aeroponic capabilities and LED grow light, would be a fantastic choice to start your gardening journey. Its countertop design makes it easy to use, allowing you to effortlessly harvest lettuce or other herbs while waiting for your tomato seeds to germinate. You can find it here:https://amzn.to/3RPpa Sk.
5. Transplanting the Seedlings
Once the seedlings have developed a few sets of true leaves (the leaves that look like miniature tomato leaves), they're ready to be transplanted into larger pots. Gently remove the seedlings from the seed trays, being careful not to damage the roots. Transplant them into individual pots filled with potting mix.
Continue to care for the seedlings as they grow, providing them with adequate light, water, and nutrients. Once the weather warms up and the risk of frost has passed, you can transplant the seedlings into your garden. Choose a sunny location with well-drained soil.
6. Caring for Your Tomato Plants
Once your tomato plants are in the garden, they'll need regular care to thrive. Here are some tips:
Watering: Water deeply and regularly, especially during dry periods. Avoid watering the foliage, as this can promote disease. Fertilizing: Feed your tomato plants with a balanced fertilizer every few weeks. Staking or Caging: Provide support for your tomato plants to prevent them from falling over. This is especially important for indeterminate varieties, which can grow very tall. Pruning: Prune your tomato plants to remove suckers (the shoots that grow between the main stem and the branches). This will help to improve air circulation and promote fruit production. Pest and Disease Control:Monitor your tomato plants regularly for signs of pests or diseases. Take action promptly to prevent problems from spreading.
Troubleshooting Common Issues
Even with the best care, you might encounter some challenges along the way. Here are a few common issues and how to address them:
Poor Germination: This could be due to several factors, including old seeds, low temperatures, or overly wet soil. Ensure your seeds are fresh, provide adequate warmth, and avoid overwatering. Damping Off: This fungal disease can kill young seedlings. Prevent it by using a sterile seed-starting mix, avoiding overwatering, and providing good air circulation. Blossom End Rot: This is caused by a calcium deficiency. Ensure your soil is properly amended with calcium and water consistently. Pests: Common tomato pests include aphids, tomato hornworms, and whiteflies. Use insecticidal soap or other appropriate methods to control these pests. Diseases:Tomatoes are susceptible to several diseases, including early blight, late blight, and Septoria leaf spot. Choose disease-resistant varieties and practice good garden hygiene to prevent these diseases.
Benefits of Growing Tomatoes From Tomato
Whilegrowing tomatoes from tomatoes might seem like a more involved process, there are several compelling reasons to give it a try:
Sustainability: It's a fantastic way to reduce food waste and recycle resources. Cost-Effectiveness: Save money on seeds, especially if you already have a favorite tomato variety. Unique Connection: Experience the satisfaction of nurturing a plant from its initial stages, starting right from the fruit itself. Educational Opportunity: Learn more about plant propagation and the life cycle of a tomato plant. Novelty Factor:It's a fun and interesting gardening experiment to share with friends and family.
So, why not givegrowing tomato plants from tomato a shot? It might take a little more effort than starting from seed, but the rewards are well worth it. Happy gardening!