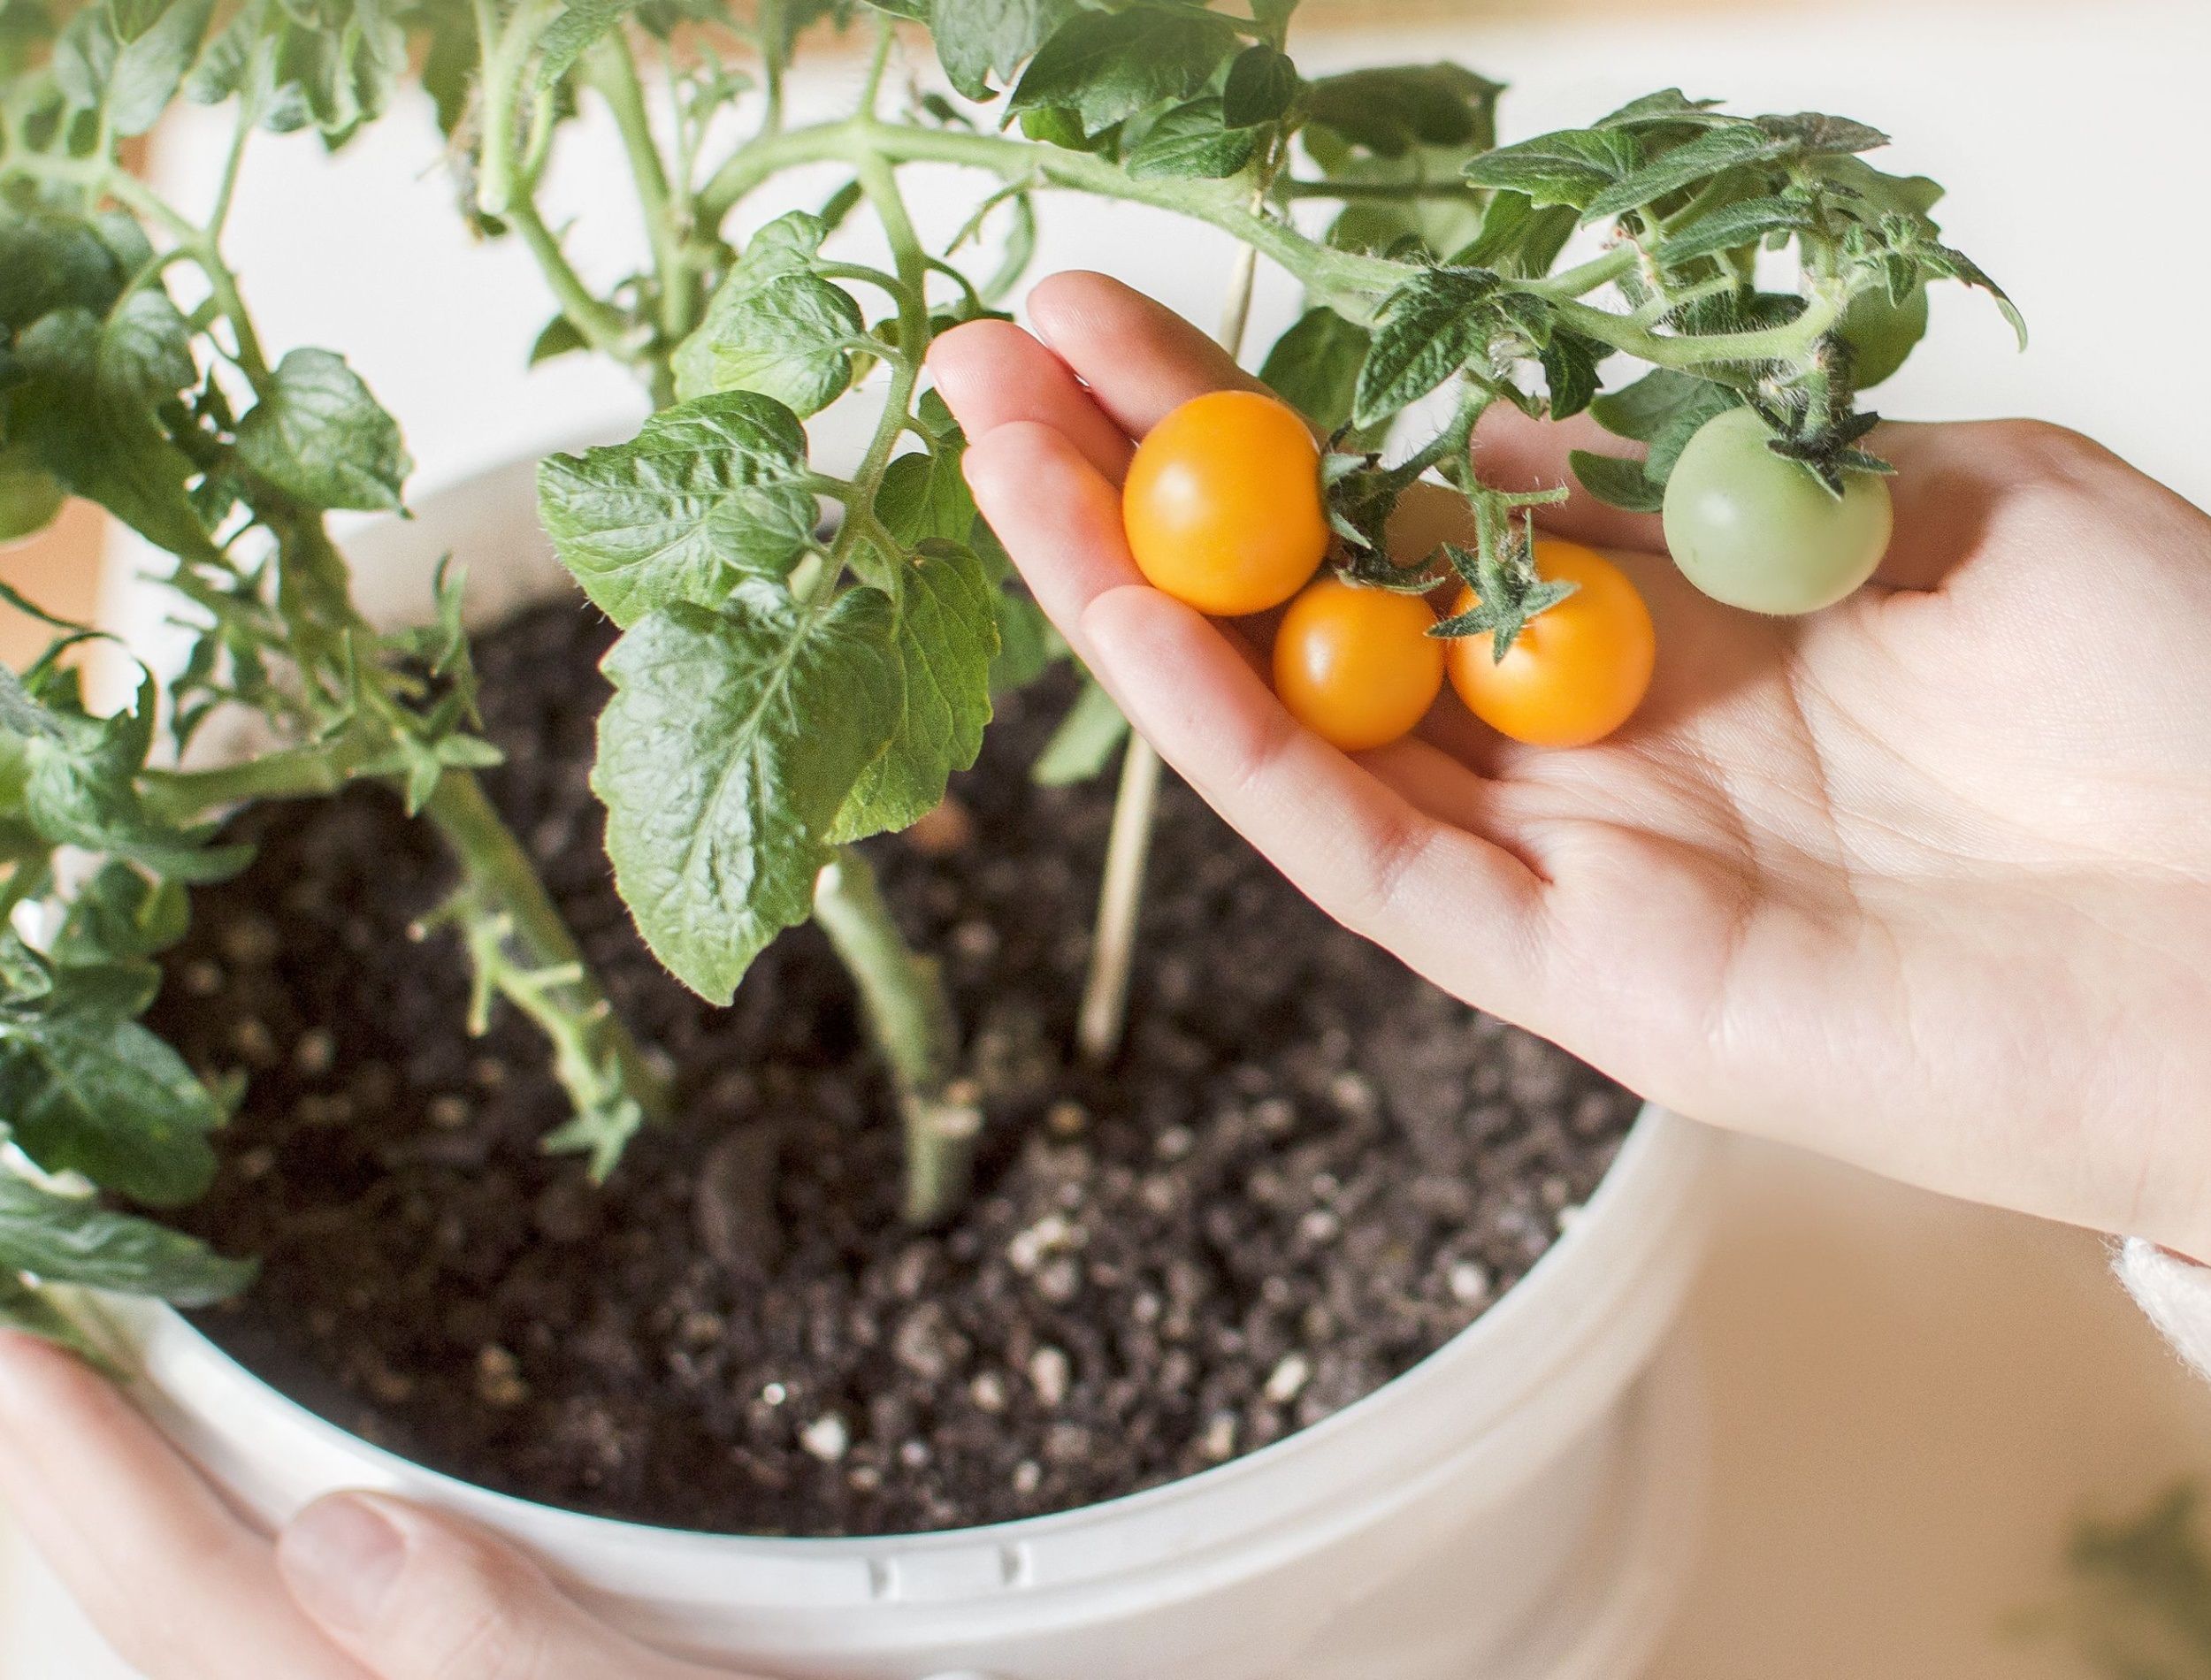
Are you dreaming of juicy, sun-ripened tomatoes bursting with flavor, but lack the space or the time for a traditional garden? Or perhaps you're tired of constantly worrying about whether your tomato plants are getting enough water? Then, the world of self-watering containers might just be your gardening salvation! Let's dive in and explore how you can grow amazing tomatoes using this clever and convenient method. The Magic of Self Watering Containers for Tomato Plants Self-watering containers, sometimes called sub-irrigated planters (SIPs), are designed to provide a consistent and reliable water supply to your plants, minimizing the need for frequent watering and dramatically reducing water waste. For tomato plants, which are known for their thirstiness, this can be a game-changer! The beauty of a tomato plant self watering container lies in its simplicity and efficiency. It essentially creates a mini-reservoir beneath the soil, allowing the plant...
There's nothing quite like the taste of a sun-ripened Roma tomato, bursting with flavor in your homemade sauce, salsa, or even just sliced on a sandwich. But waiting for the right weather can feel like an eternity. The good news? You can get a head start on your tomato harvest bystarting Roma tomatoes indoors! It's easier than you think, and the payoff is absolutely worth it.
Why Start Roma Tomatoes Indoors?
Starting your Roma tomato seeds indoors gives you a significant advantage over directly sowing them in your garden. Here's why:
- Longer Growing Season: Roma tomatoes need a long growing season, typically 75-80 days from transplanting. By starting them indoors 6-8 weeks before the last expected frost, you extend their growing period and increase your chances of a bountiful harvest.
- Control Over Environment: Indoor growing allows you to control temperature, light, and moisture levels, providing the optimal conditions for germination and early growth. This minimizes the risk of weather-related setbacks like late frosts or heavy rains.
- Stronger Seedlings: Indoor-started seedlings tend to be stronger and more robust than those directly sown outdoors. They have a well-developed root system, making them better equipped to withstand transplant shock and environmental stressors.
- Pest and Disease Control: Starting seeds indoors reduces the risk of early pest and disease infestations that can plague young tomato plants.
When to Start Your Roma Tomato Seeds
Timing is key! As mentioned above, you should aim to start your Roma tomato seeds indoors approximately 6-8 weeks before the last expected frost date in your area. This date varies depending on your location, so consult your local weather forecast or agricultural extension office for accurate information. A quick Google search for "last frost date [your city/region]" should give you a good estimate.
For example, if your last expected frost date is May 15th, you should start your seeds indoors around late March to early April.
What You'll Need to Start Roma Tomatoes Indoors
Gathering the right supplies is essential for successful indoor seed starting. Here's a list of what you'll need:
- Roma Tomato Seeds: Choose high-quality seeds from a reputable supplier. Look for varieties known for disease resistance and good yields. Consider heirloom Roma varieties for unique flavors and characteristics.
- Seed Starting Trays or Pots: These provide individual cells for each seedling, preventing root entanglement and making transplanting easier. Peat pots, coco coir pots, or plastic seed starting trays are all good options. You can also repurpose yogurt cups or other small containers, just make sure they have drainage holes.
- Seed Starting Mix: Use a lightweight, sterile seed starting mix. This mix is specifically formulated to provide optimal drainage and aeration for delicate seedlings. Regular potting soil is often too heavy and can compact around the roots.
- Watering Can or Spray Bottle: For gentle watering to avoid disturbing the seeds and seedlings.
- Heat Mat (Optional): A heat mat placed under the seed trays can speed up germination by providing consistent bottom heat. Roma tomato seeds germinate best at temperatures between 70-80°F (21-27°C).
- Grow Lights: Essential for providing adequate light to the seedlings, especially if you don't have a sunny south-facing window. Fluorescent grow lights or LED grow lights are excellent choices.
- Labels: To keep track of the Roma tomato varieties you are growing.
Step-by-Step Guide to Starting Roma Tomatoes Indoors
Now that you have your supplies, let's get started! Follow these steps for successful Roma tomato seed starting:
Step 1: Prepare Your Seed Starting Trays
Moisten the seed starting mix with water until it is damp but not soggy. Fill the seed starting trays or pots with the moistened mix, leaving about half an inch of space at the top. Gently press the mix down to remove any air pockets.
Step 2: Sow the Seeds
Make a small indentation in the center of each cell, about ¼ inch deep. Place one or two Roma tomato seeds in each indentation. Cover the seeds with a thin layer of seed starting mix. Gently water the surface of the mix to settle the seeds.
Step 3: Provide Warmth and Moisture
Cover the seed starting trays with a clear plastic dome or plastic wrap to create a humid environment. Place the trays on a heat mat if using, and position them under grow lights or in a warm, sunny location. Maintain a consistent temperature of 70-80°F (21-27°C) for optimal germination. Check the moisture level daily and mist with water as needed to keep the mix consistently moist but not waterlogged.
Step 4: Germination and Seedling Care
Roma tomato seeds typically germinate within 5-10 days. Once the seedlings emerge, remove the plastic dome or plastic wrap to improve air circulation. Lower the heat mat temperature slightly, if using, or remove the heat mat entirely. Adjust the grow lights so they are 2-4 inches above the seedlings. Ensure the seedlings receive at least 14-16 hours of light per day. Water regularly, allowing the top inch of soil to dry out slightly between waterings. Avoid overwatering, as this can lead to damping-off disease.
Step 5: Hardening Off
Before transplanting your Roma tomato seedlings outdoors, you'll need to "harden them off." This process gradually acclimates the seedlings to outdoor conditions, reducing the risk of transplant shock. About one week before transplanting, start taking the seedlings outdoors for a few hours each day. Begin by placing them in a sheltered location, protected from direct sunlight and wind. Gradually increase the amount of time they spend outdoors and expose them to more sunlight each day. By the end of the week, they should be able to tolerate full sun and wind for several hours.
Transplanting Your Roma Tomato Seedlings Outdoors
Once the danger of frost has passed and the soil has warmed up, you can transplant your Roma tomato seedlings into your garden. Choose a sunny location with well-drained soil. Amend the soil with compost or other organic matter to improve its fertility. Dig a hole slightly larger than the root ball of the seedling. Gently remove the seedling from its pot, being careful not to damage the roots. Place the seedling in the hole and backfill with soil. Water thoroughly and provide support with a stake or cage.
Choosing the Right Roma Tomato Variety
Not all Roma tomatoes are created equal! Choosing the right variety can significantly impact your harvest and overall satisfaction. Here are a few popular Roma tomato varieties to consider:
- Roma VF: A classic, reliable variety known for its high yields and disease resistance. Produces plum-shaped tomatoes with a meaty texture and excellent flavor.
- San Marzano: Considered by many to be the best Roma tomato for sauce making. Produces elongated, slightly pointed tomatoes with a rich, sweet flavor and low seed count.
- Amish Paste: An heirloom variety with a rich, complex flavor. Produces large, meaty tomatoes perfect for sauces and canning.
- Roma Gigante: A larger Roma type, producing tomatoes over 6 inches long.
Troubleshooting Common Problems
Even with the best intentions, you might encounter some challenges when starting Roma tomatoes indoors. Here are a few common problems and how to address them:
- Damping-Off: A fungal disease that causes seedlings to collapse and die. Prevent damping-off by using sterile seed starting mix, providing good air circulation, and avoiding overwatering.
- Leggy Seedlings: Tall, spindly seedlings are often a result of insufficient light. Provide adequate light with grow lights or move the seedlings to a sunnier location.
- Slow Germination: Low temperatures or dry soil can hinder germination. Maintain a consistent temperature of 70-80°F (21-27°C) and keep the seed starting mix consistently moist.
- Pests: Aphids, spider mites, and whiteflies can sometimes infest indoor seedlings. Inspect your plants regularly and treat infestations with insecticidal soap or neem oil.
Starting Roma tomatoes indoors is a rewarding experience that allows you to enjoy homegrown tomatoes earlier in the season. By following these tips and tricks, you'll be well on your way to a delicious and abundant harvest! Happy gardening!
If you're looking for an even easier way to get started, consider theAhopegarden Indoor Garden System. This indoor garden systemmakes growing herbs and vegetables, including tomatoes, simple and fun. Check out this hydroponic growing systemhere:https://amzn.to/3RPpa Sk.