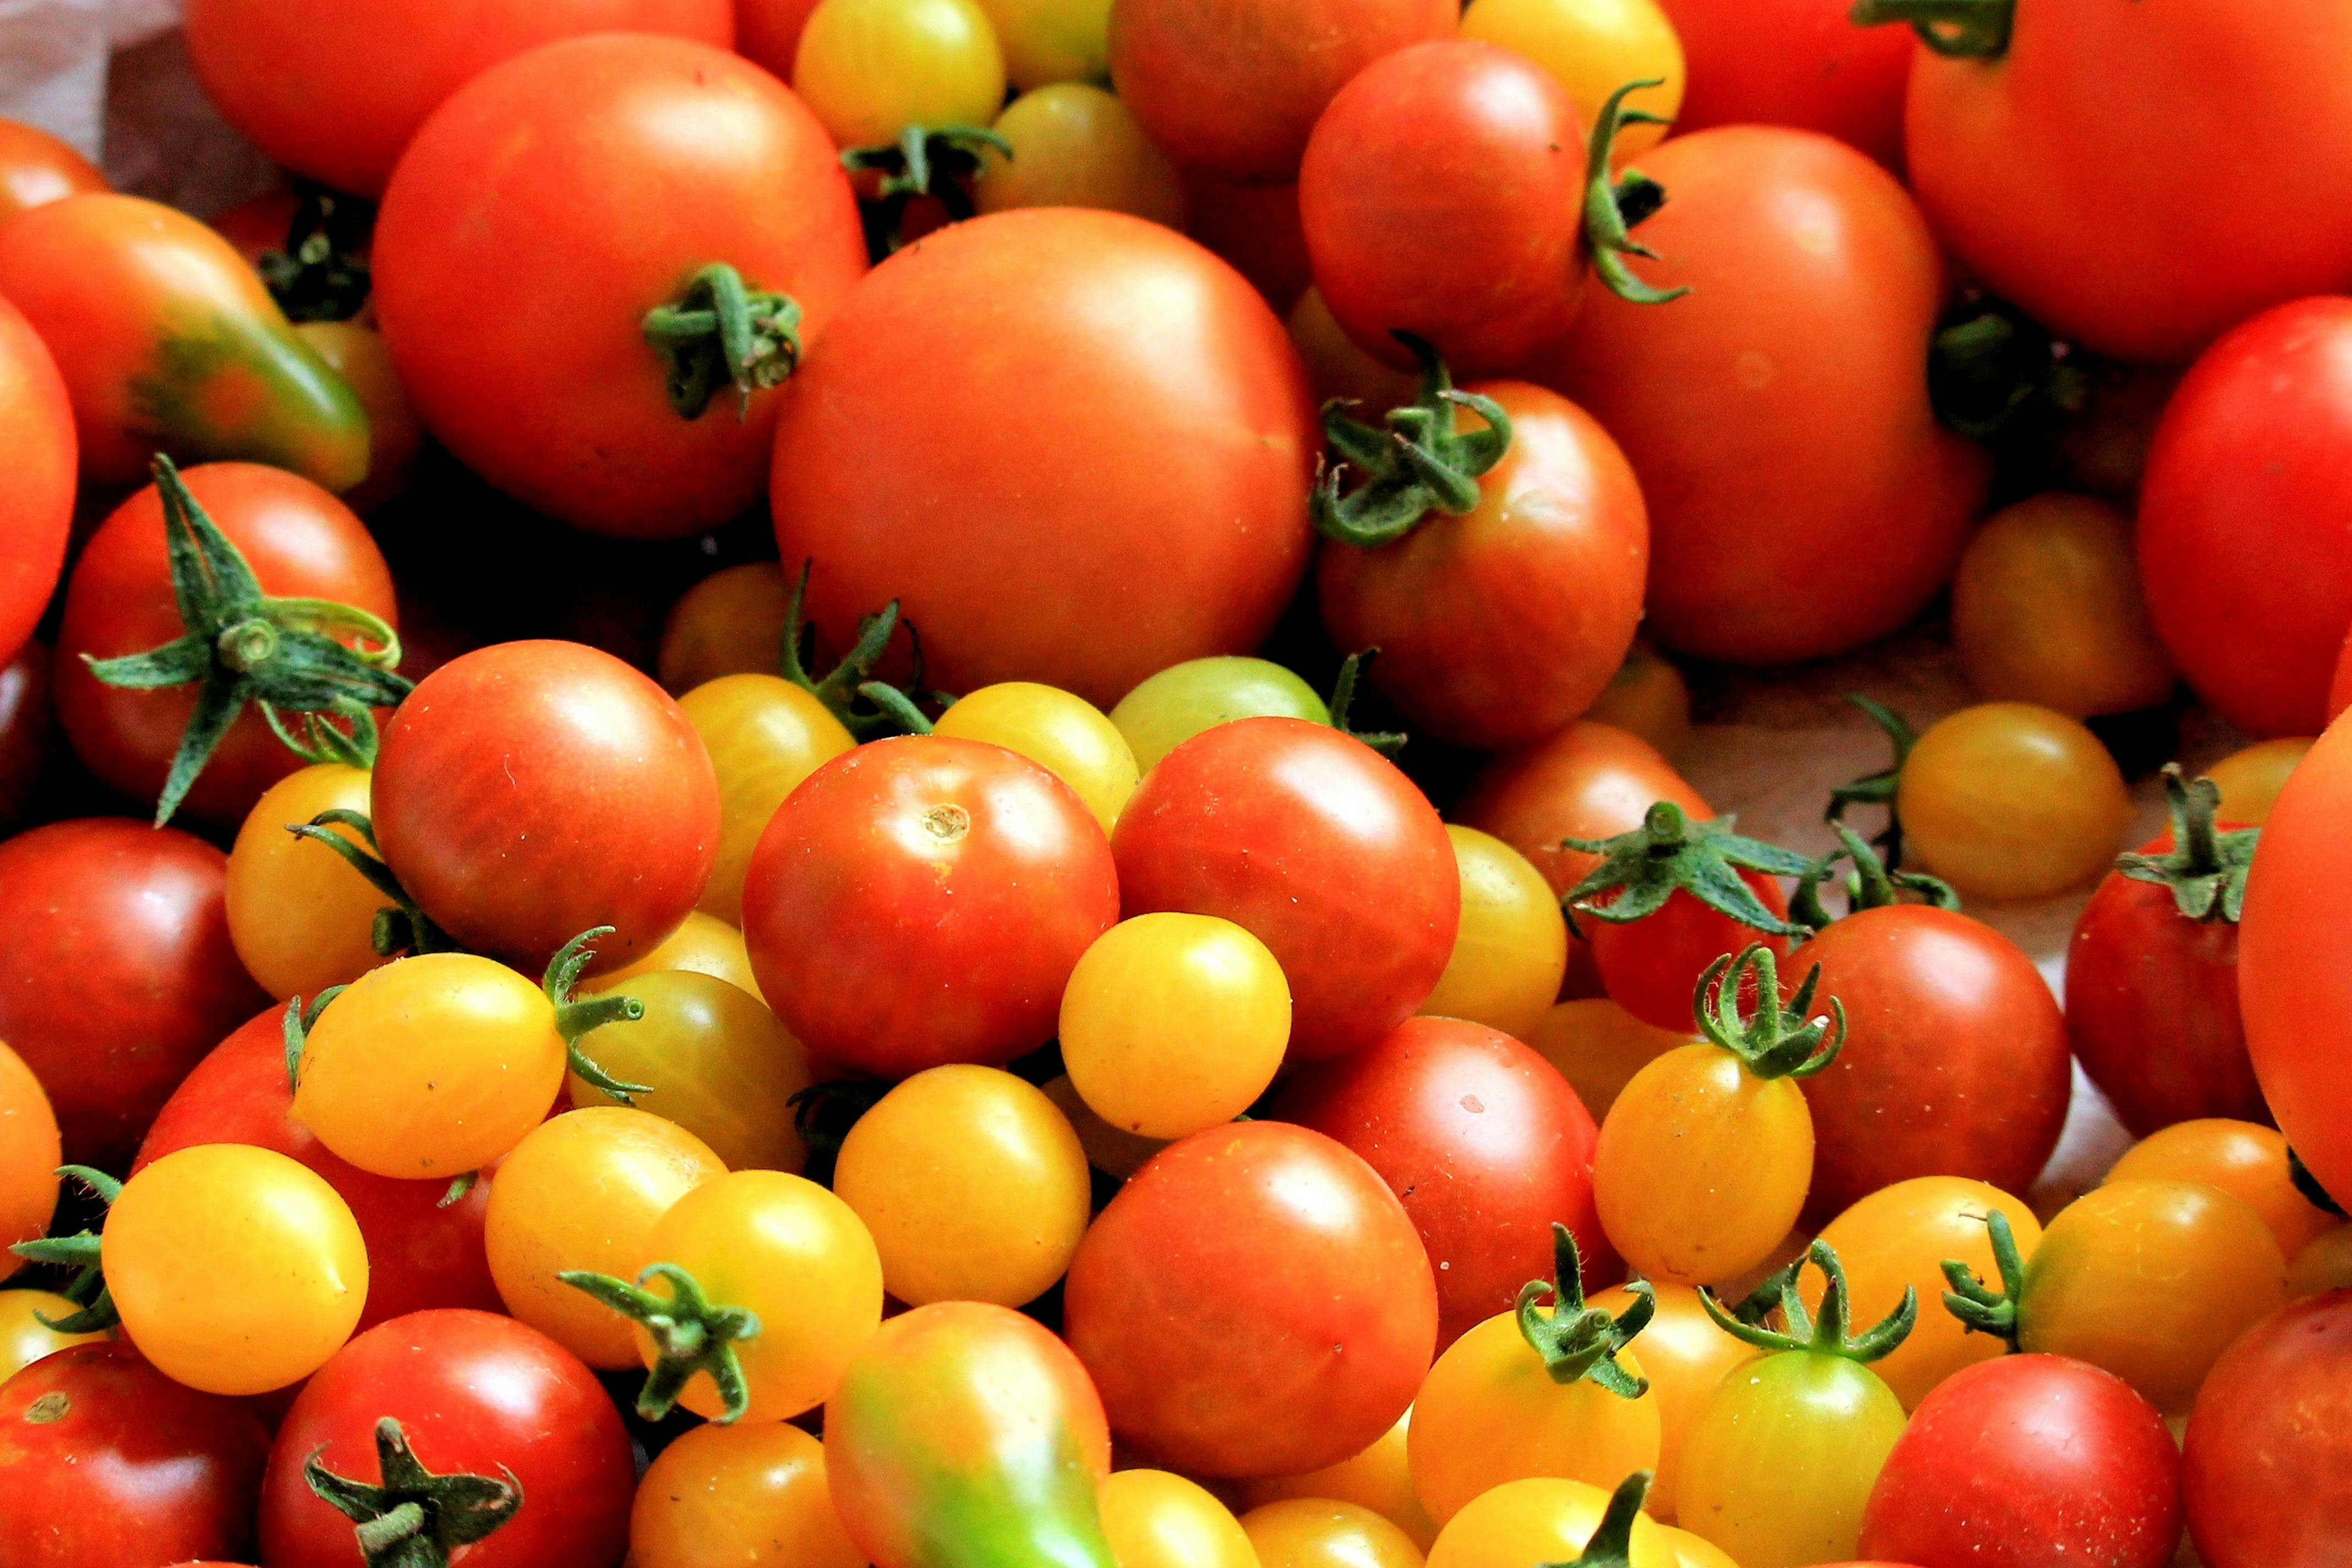
Are you dreaming of juicy, sun-ripened tomatoes bursting with flavor, but lack the space or the time for a traditional garden? Or perhaps you're tired of constantly worrying about whether your tomato plants are getting enough water? Then, the world of self-watering containers might just be your gardening salvation! Let's dive in and explore how you can grow amazing tomatoes using this clever and convenient method. The Magic of Self Watering Containers for Tomato Plants Self-watering containers, sometimes called sub-irrigated planters (SIPs), are designed to provide a consistent and reliable water supply to your plants, minimizing the need for frequent watering and dramatically reducing water waste. For tomato plants, which are known for their thirstiness, this can be a game-changer! The beauty of a tomato plant self watering container lies in its simplicity and efficiency. It essentially creates a mini-reservoir beneath the soil, allowing the plant...
Have you ever nurtured a tiny tomato seedling, watching it reach for the sun with unwavering optimism? Then you understand the bittersweet moment when that little sprout outgrows its first cozy container. Don't worry! This isn't the end, it's just the beginning of a new and exciting phase. It's time forpotting on! Let's explore how to successfully transplant your tomato plants for healthier growth and bountiful harvests.
Understanding Tomato Plants Potting On
So, what exactly is "potting on," and why is it crucial for your tomato plants? Potting on, also sometimes referred to as transplanting up, is the process of moving a plant from a smaller container into a larger one. This provides the roots with more space to grow, access to more nutrients, and allows the plant to develop a stronger, more robust root system. For tomato plants, this is particularly important because they are heavy feeders and vigorous growers. Without sufficient space and nutrients, they can become stunted, produce fewer fruits, and be more susceptible to diseases.
Timing is everything when it comes to potting on. You'll want to move your tomato seedlings before they become root-bound, meaning their roots have filled the container and are circling around the edges. Here are some signs that your tomato plant is ready for a larger home:
- Roots emerging from the drainage holes at the bottom of the pot.
- The plant's growth has slowed down significantly.
- The plant is top-heavy and easily tips over.
- The leaves are starting to turn yellow, even with proper watering.
Generally, you'll want to pot on your tomato plants a couple of times before transplanting them into their final location in the garden or a very large container. A typical potting on schedule might look like this:
- Seedling starts in a small seed tray or cell.
- Once the seedling has a few sets of true leaves (not just the seed leaves, or cotyledons), transplant into a 4-inch pot.
- When the plant outgrows the 4-inch pot, move it into a 1-gallon pot.
- Finally, transplant the plant into its final growing location (garden, raised bed, or large container - at least 5-gallon).
Choosing the Right Potting Mix and Containers for Tomato Plants Potting On
The success of your tomato plants depends greatly on the potting mix you use. Unlike garden soil, potting mix is specifically formulated to provide good drainage, aeration, and nutrient retention. Avoid using garden soil directly in containers, as it can become compacted and suffocate the roots. Look for a potting mix that is specifically designed for vegetables or tomatoes. These mixes typically contain a blend of peat moss, vermiculite, perlite, and compost.
Here's a breakdown of why each component is important:
- Peat Moss: Provides good water retention and aeration.
- Vermiculite: Helps retain moisture and nutrients.
- Perlite: Improves drainage and aeration.
- Compost: Adds organic matter and nutrients.
Alternatively, you can create your own potting mix by combining equal parts of peat moss, vermiculite, and perlite. Consider adding a slow-release fertilizer to provide a steady supply of nutrients for your tomato plants. You may also consider using coco coir as an alternative to peat moss.
Choosing the right containers is equally important. Make sure the containers have adequate drainage holes to prevent waterlogging. Terracotta pots are a good choice because they are porous and allow for good air circulation. Plastic pots are also fine, but they tend to retain more moisture. When potting on, choose a container that is at least 2-3 inches larger in diameter than the current container.
Here's a table summarizing container sizes for tomato plants at different stages:
| Stage | Container Size (Diameter) |
|---|---|
| -------------------- | --------------------------- |
| Seedling | Seed Tray/Cell |
| First Potting On | 4 inches |
| Second Potting On | 1 gallon |
| Final Planting | 5+ gallons |
The Potting On Process: A Step-by-Step Guide for Tomato Seedlings
Now that you have your potting mix and containers ready, let's get down to the potting on process. Follow these steps carefully to ensure a smooth transition for your tomato plants:
- Prepare the New Container: Fill the new container with potting mix, leaving about an inch of space at the top.
- Water the Seedling: Water the seedling in its current container thoroughly. This will help loosen the roots and make it easier to remove the plant.
- Gently Remove the Seedling: Gently squeeze the sides of the current container to loosen the soil. Carefully turn the container upside down, supporting the plant with your hand. Gently tap the bottom of the container to release the root ball.
- Loosen the Roots: If the roots are tightly bound, gently loosen them with your fingers. This will encourage them to spread out into the new potting mix. You can even make a few small vertical cuts in the root ball to encourage outward growth.
- Place the Seedling in the New Container: Place the seedling in the center of the new container, making sure the top of the root ball is level with the surrounding potting mix.
- Fill with Potting Mix: Fill the remaining space in the container with potting mix, gently pressing down to eliminate air pockets.
- Water Thoroughly: Water the newly potted plant thoroughly until water drains out of the drainage holes.
- Provide Support: If your tomato plant is tall or leggy, you may need to provide some support with a stake or trellis.
After potting on, place your tomato plants in a location with bright, indirect sunlight. Avoid exposing them to direct sunlight for the first few days, as this can cause stress. Keep the potting mix moist but not waterlogged. After a week or two, you can start fertilizing your tomato plants with a liquid fertilizer diluted to half strength.
Caring for Your Tomato Plants After Potting On
Once your tomato plants are successfully potted on, it's important to provide them with the proper care to ensure healthy growth and abundant fruit production. Here are some key care tips:
- Sunlight: Tomato plants need at least 6-8 hours of sunlight per day. Choose a location that receives plenty of sunshine. If you're growing your plants indoors, you may need to supplement with grow lights.
- Watering: Water your tomato plants deeply and regularly, especially during hot weather. Avoid watering the foliage, as this can promote fungal diseases. The best time to water is in the morning, so the leaves have time to dry before nightfall.
- Fertilizing: Tomato plants are heavy feeders and require regular fertilization. Use a fertilizer that is specifically formulated for tomatoes, or a balanced fertilizer with a higher phosphorus content. Fertilize every 2-3 weeks, following the instructions on the fertilizer label.
- Pruning: Pruning can help improve air circulation and fruit production. Remove any suckers (the shoots that grow between the main stem and the branches) to encourage the plant to focus its energy on producing fruit.
- Pest and Disease Control: Monitor your tomato plants regularly for signs of pests and diseases. Common pests include aphids, whiteflies, and tomato hornworms. Common diseases include early blight, late blight, and blossom end rot. Treat any problems promptly with appropriate insecticides or fungicides.
- Support: As your tomato plants grow, they will need support to prevent them from falling over. Use stakes, cages, or trellises to support the plants and keep the fruit off the ground.
By following these tips, you can ensure that your tomato plants thrive and produce a bountiful harvest. Consider theAhopegarden Indoor Garden Hydroponics Growing System: 10 Pods Plant Germination Kit Aeroponic Herb Vegetable Growth Lamp Countertop with LED Grow Light, a hydroponic plant starter system, if you want to get a jump start on your seedlings during the off season. Find it here: https://amzn.to/3RPpa Sk. This could be a good choice if you're looking for a way to nurture your seeds before potting on!
Troubleshooting Common Potting On Problems
Even with the best planning, problems can sometimes arise during the potting on process. Here are some common issues and how to address them:
- Transplant Shock: Transplant shock can occur when a plant is moved from one location to another. Symptoms include wilting, yellowing leaves, and stunted growth. To minimize transplant shock, water the plant thoroughly before and after potting on, and provide shade for the first few days.
- Root Rot: Root rot is caused by overwatering and poor drainage. Symptoms include wilting, yellowing leaves, and a foul odor coming from the soil. To prevent root rot, use a well-draining potting mix and avoid overwatering. If root rot occurs, repot the plant in fresh potting mix and cut away any rotten roots.
- Pest Infestations: Pests can be introduced into the potting mix or transferred from the original plant. Inspect the plant carefully before potting on, and treat any infestations promptly.
- Nutrient Deficiencies: Nutrient deficiencies can occur if the potting mix is lacking essential nutrients. Symptoms include yellowing leaves, stunted growth, and poor fruit production. To prevent nutrient deficiencies, use a potting mix that is specifically formulated for vegetables or tomatoes, and fertilize regularly.
By being aware of these potential problems and taking steps to prevent them, you can ensure a successful potting on experience for your tomato plants.
Potting on tomato plants is a crucial step in ensuring a healthy and productive harvest. By understanding the importance of potting on, choosing the right potting mix and containers, and following the proper techniques, you can give your tomato plants the best possible start. Remember to provide them with the care they need after potting on, and troubleshoot any problems that may arise. With a little patience and attention, you'll be rewarded with a bountiful crop of delicious tomatoes. Happy gardening!