Are you dreaming of juicy, sun-ripened tomatoes bursting with flavor, but lack the space or the time for a traditional garden? Or perhaps you're tired of constantly worrying about whether your tomato plants are getting enough water? Then, the world of self-watering containers might just be your gardening salvation! Let's dive in and explore how you can grow amazing tomatoes using this clever and convenient method. The Magic of Self Watering Containers for Tomato Plants Self-watering containers, sometimes called sub-irrigated planters (SIPs), are designed to provide a consistent and reliable water supply to your plants, minimizing the need for frequent watering and dramatically reducing water waste. For tomato plants, which are known for their thirstiness, this can be a game-changer! The beauty of a tomato plant self watering container lies in its simplicity and efficiency. It essentially creates a mini-reservoir beneath the soil, allowing the plant...
Imagine harvesting handfuls of sweet, bite-sized tomatoes from your very own plant, even if you only have a tiny balcony or a sunny windowsill. The Tiny Tim tomato, a miniature marvel, makes this dream a reality. Growing these little guys from seed is easier than you might think, and the reward is a continuous supply of delicious tomatoes perfect for snacking or adding a pop of flavor to your salads. Let's get growing!
How to Grow Tiny Tim Tomatoes From Seed: A Complete Guide
Why Choose Tiny Tim Tomatoes?
Tiny Tim tomatoes are a type of dwarf tomato, meaning they stay incredibly compact, typically only reaching 12-18 inches in height. This makes them ideal for container gardening, small spaces, and even indoor growing. But their size isn't the only thing that makes them appealing. Here are a few more reasons to love Tiny Tims:
- Early Maturity: They are incredibly fast growers, often producing ripe tomatoes within 60-70 days from transplant. That's a quick turnaround!
- Prolific Producers: Don't let their size fool you – these plants are loaded with fruit. You'll be surprised by the sheer number of tomatoes one small plant can yield.
- Delicious Flavor: Tiny Tim tomatoes have a sweet, slightly tangy flavor that's perfect for snacking, salads, and even making a quick tomato sauce.
- Easy to Grow: They are relatively low-maintenance, making them a great choice for beginner gardeners. They're also more tolerant of cooler temperatures than some other tomato varieties.
- Space-Saving: Perfect for apartments, balconies, patios, or even a sunny windowsill. Their compact size allows you to enjoy fresh tomatoes even with limited space.
If you're looking for a tomato variety that's easy to grow, productive, and delicious, Tiny Tim tomatoes are an excellent choice. Their small size makes them perfect for any gardener, regardless of their space limitations or experience level. It's truly amazing how much flavor and yield is packed into such a small plant!
Starting Tiny Tim Tomato Seeds Indoors
When to Start Your Seeds
The timing of starting your tomato seeds indoors is crucial for a successful harvest. Generally, you should aim to start your Tiny Tim tomato seeds about 6-8 weeks before the last expected frost in your area. This gives the seedlings enough time to develop a strong root system before being transplanted outdoors. To determine the last frost date in your area, consult your local weather service or agricultural extension office. They often have historical data that can help you make an informed decision.
If you're planning to grow your Tiny Tim tomatoes exclusively indoors, you can start your seeds at any time of year. However, keep in mind that tomatoes require adequate light to thrive, so you may need to supplement natural light with grow lights, especially during the shorter days of winter. Speaking of which, if you're considering indoor gardening and want a reliable setup for getting your Tiny Tim tomato seeds going, you might want to check out the Ahopegarden Indoor Garden Hydroponics Growing System. This 10-pod plant germination kit with an LED grow light is a great option for starting your seedlings indoors. You can find it here: https://amzn.to/3RPpa Sk. It's a hydroponic planter grower that will ensure you harvest plenty of lettuce and more!
Materials You'll Need
To successfully start your Tiny Tim tomato seeds indoors, you'll need the following materials:
- Tiny Tim tomato seeds: Choose a reputable seed supplier for the best germination rates.
- Seed starting mix: Use a fine-textured, sterile mix designed for seed starting. Avoid using garden soil, as it can contain pathogens and may not drain well.
- Seed starting trays or pots: Small plastic trays or individual pots with drainage holes are ideal.
- Humidity dome or plastic wrap: This helps to maintain consistent moisture levels during germination.
- Spray bottle: For gentle watering.
- Warm location: Tomato seeds germinate best in warm temperatures (70-80°F).
- Grow lights (optional): If you don't have a sunny window, grow lights can provide the necessary light for healthy seedling development.
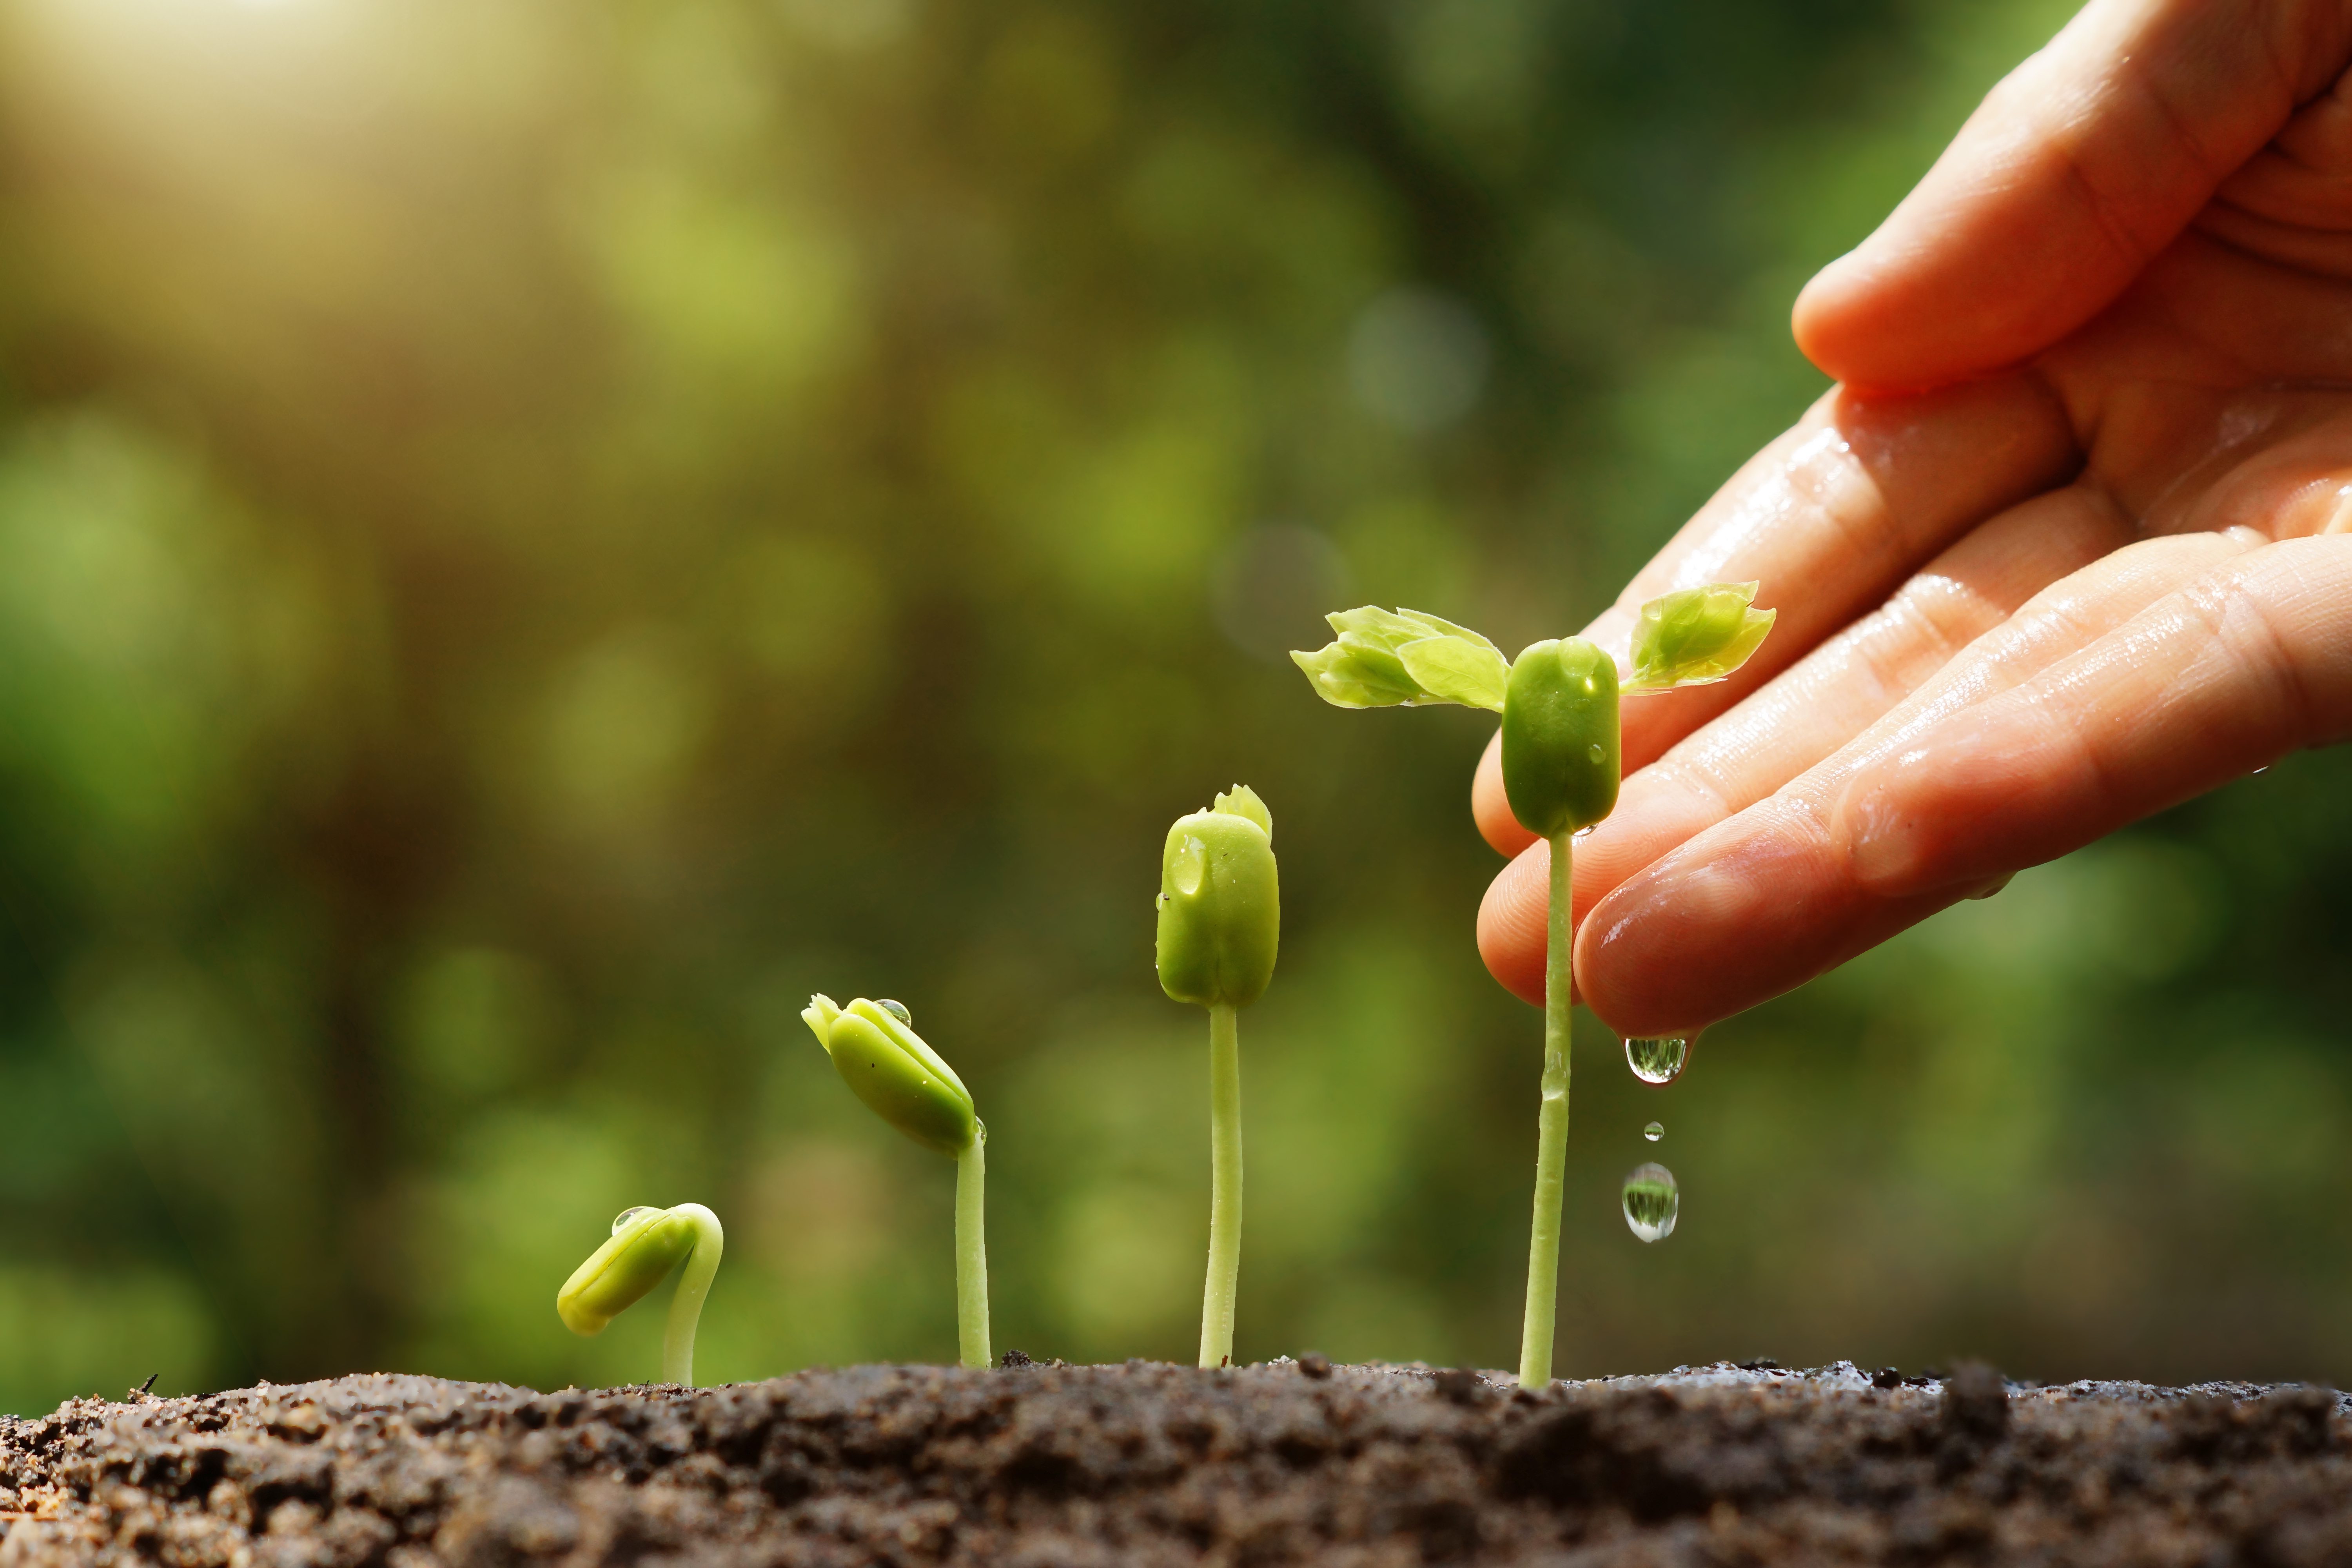
The Seed Starting Process: Step-by-Step
- Prepare your seed starting trays or pots: Fill the trays or pots with seed starting mix, leaving about ½ inch of space at the top.
- Sow the seeds: Make a small indentation (about ¼ inch deep) in the center of each cell or pot. Place 2-3 seeds in each indentation and gently cover with seed starting mix.
- Water gently: Use a spray bottle to moisten the soil thoroughly. Avoid overwatering, as this can lead to damping-off, a fungal disease that can kill seedlings.
- Cover with a humidity dome or plastic wrap: This helps to retain moisture and create a warm, humid environment for germination.
- Place in a warm location: The ideal temperature for tomato seed germination is between 70-80°F (21-27°C). You can use a heat mat to provide consistent warmth.
- Monitor moisture levels: Check the soil daily and mist with water as needed to keep it moist but not soggy.
- Once seedlings emerge: Remove the humidity dome or plastic wrap and place the seedlings under grow lights or in a sunny window.
Caring for Tiny Tim Tomato Seedlings
Providing Adequate Light
Once your Tiny Tim tomato seedlings have emerged, they need plenty of light to grow strong and healthy. If you're growing them indoors, a sunny windowsill that receives at least 6 hours of direct sunlight per day is ideal. However, if you don't have a suitable window, you'll need to use grow lights. Position the grow lights a few inches above the seedlings and keep them on for 14-16 hours per day. As the seedlings grow, you may need to adjust the height of the lights to prevent them from scorching the leaves. A good sign that your seedlings are getting enough light is that they're growing straight and upright, rather than stretching towards the light source.
Watering and Fertilizing
Watering is crucial for healthy seedling development, but it's important to avoid overwatering, which can lead to root rot. Water the seedlings when the top inch of soil feels dry to the touch. Water gently, using a watering can or spray bottle, and avoid getting water on the leaves, as this can promote fungal diseases. Fertilize your Tiny Tim tomato seedlings with a diluted liquid fertilizer specifically formulated for seedlings. Start fertilizing about 2 weeks after the seedlings emerge, and follow the instructions on the fertilizer label. A balanced fertilizer with a ratio of 10-10-10 or 5-5-5 is a good choice.
Hardening Off Your Seedlings
Before transplanting your Tiny Tim tomato seedlings outdoors, it's important to "harden them off." This process gradually acclimates the seedlings to the outdoor environment, reducing the risk of transplant shock. About 1-2 weeks before you plan to transplant, start by placing the seedlings outdoors in a sheltered location for a few hours each day. Gradually increase the amount of time they spend outdoors each day, and expose them to more sunlight and wind. This will help them develop stronger stems and leaves, making them better able to withstand the challenges of the outdoor environment. If frost is threatened, bring the seedlings back indoors.
Transplanting Tiny Tim Tomatoes Outdoors
Choosing the Right Location
When transplanting your Tiny Tim tomatoes outdoors, choose a location that receives at least 6 hours of direct sunlight per day. The soil should be well-draining and rich in organic matter. If your soil is heavy clay or sandy, amend it with compost or other organic matter to improve drainage and fertility. Tiny Tim tomatoes can also be grown in containers, so if you're limited on space, you can plant them in pots or hanging baskets. Choose a container that's at least 12 inches in diameter and has drainage holes.
The Transplanting Process
- Prepare the planting hole: Dig a hole that's slightly larger than the root ball of the seedling.
- Gently remove the seedling from its pot: Be careful not to damage the roots. You can gently squeeze the sides of the pot to loosen the root ball.
- Place the seedling in the hole: Position the seedling so that the top of the root ball is level with the surrounding soil.
- Backfill the hole: Gently fill the hole with soil, firming it around the root ball.
- Water thoroughly: Water the newly transplanted seedling well to help settle the soil and encourage root growth.
- Add mulch: Apply a layer of mulch around the base of the plant to help retain moisture and suppress weeds.
Spacing and Support
Tiny Tim tomatoes are relatively compact, so they don't require a lot of space. Space the plants about 12-18 inches apart in rows that are 2-3 feet apart. Although Tiny Tim tomatoes are dwarf plants, they can still benefit from some support, especially when they're loaded with fruit. You can use small stakes or tomato cages to provide support and prevent the plants from toppling over.
Caring for Your Tiny Tim Tomato Plants
Watering and Fertilizing After Transplant
After transplanting, continue to water your Tiny Tim tomato plants regularly, especially during dry spells. Water deeply, allowing the soil to dry out slightly between waterings. Avoid overhead watering, as this can promote fungal diseases. Fertilize your Tiny Tim tomato plants every 2-3 weeks with a balanced tomato fertilizer. Follow the instructions on the fertilizer label for application rates. You can also side-dress the plants with compost or aged manure to provide a slow-release source of nutrients.
Pruning and Maintenance
Tiny Tim tomatoes require very little pruning. Unlike some other tomato varieties, they don't produce suckers that need to be removed. However, you may want to remove any yellowing or diseased leaves to improve air circulation and prevent the spread of disease. Check your plants regularly for pests and diseases, and take action promptly if you notice any problems. Common tomato pests include aphids, tomato hornworms, and whiteflies. Common tomato diseases include early blight, late blight, and Septoria leaf spot. There are many organic and conventional methods for controlling tomato pests and diseases. Consult your local garden center or agricultural extension office for recommendations.
Harvesting Your Tiny Tim Tomatoes
Tiny Tim tomatoes are typically ready to harvest about 60-70 days after transplanting. The tomatoes will turn a deep red color when they're ripe. Gently twist the tomatoes from the vine, being careful not to damage the plant. Harvest your Tiny Tim tomatoes regularly to encourage continued production. With proper care, you can enjoy a bountiful harvest of delicious, bite-sized tomatoes throughout the growing season. Enjoy your homegrown goodness!