Are you dreaming of juicy, sun-ripened tomatoes bursting with flavor, but lack the space or the time for a traditional garden? Or perhaps you're tired of constantly worrying about whether your tomato plants are getting enough water? Then, the world of self-watering containers might just be your gardening salvation! Let's dive in and explore how you can grow amazing tomatoes using this clever and convenient method. The Magic of Self Watering Containers for Tomato Plants Self-watering containers, sometimes called sub-irrigated planters (SIPs), are designed to provide a consistent and reliable water supply to your plants, minimizing the need for frequent watering and dramatically reducing water waste. For tomato plants, which are known for their thirstiness, this can be a game-changer! The beauty of a tomato plant self watering container lies in its simplicity and efficiency. It essentially creates a mini-reservoir beneath the soil, allowing the plant...
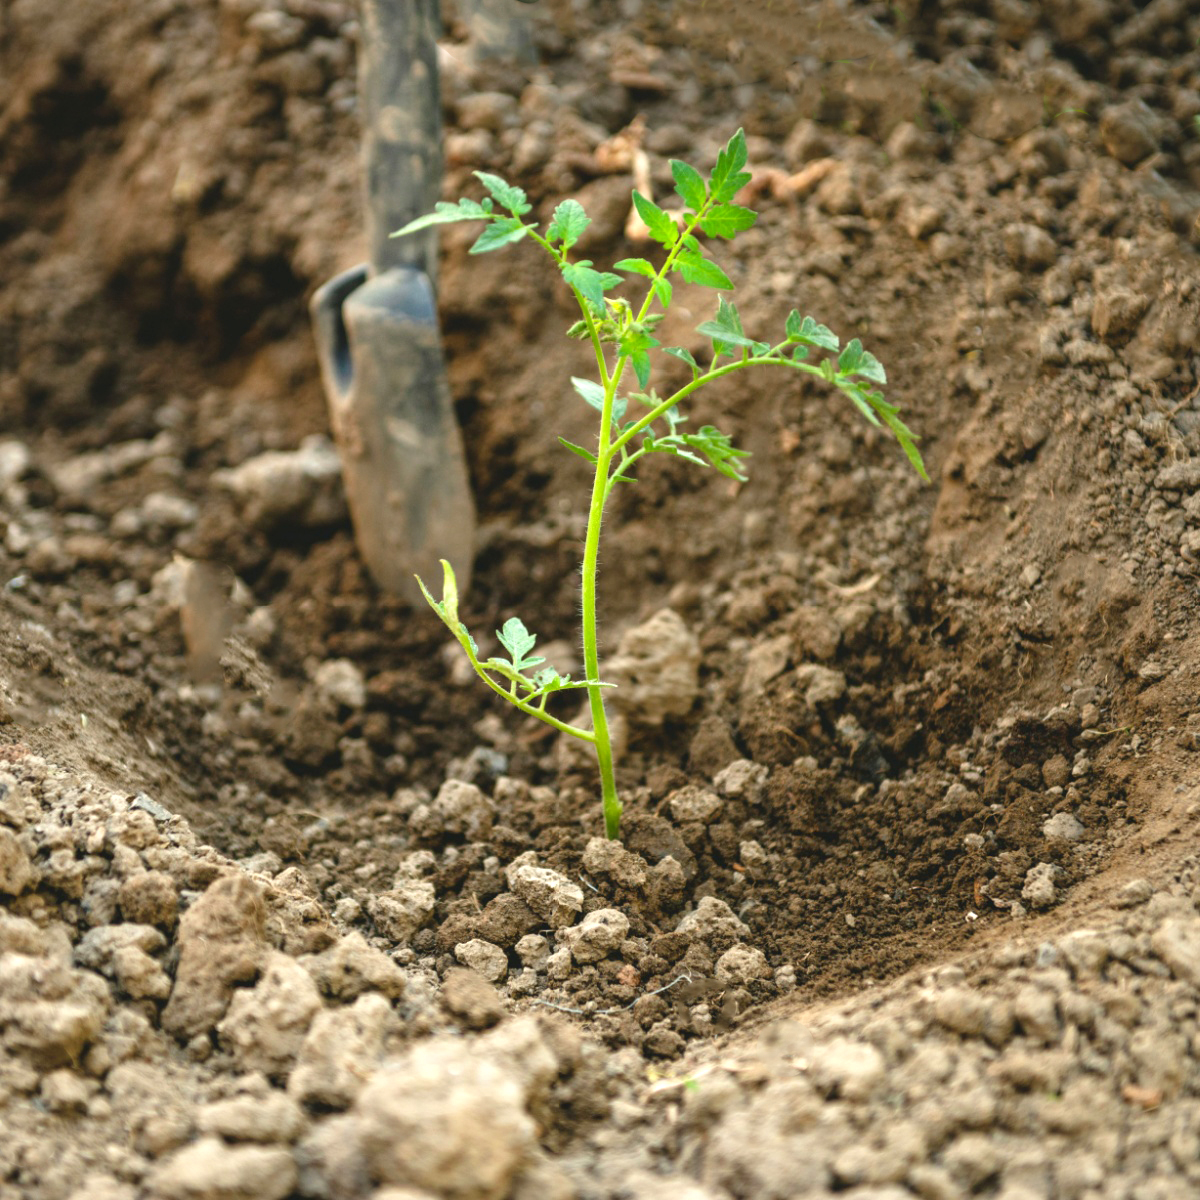
So, you're ready to grow your own juicy, sun-ripened tomatoes! That's fantastic. But before you get those little seedlings nestled in the ground, there's one crucial step you need to master: planting depth. Plant them too shallow, and they might struggle. Too deep, and you risk inviting disease. Let's dive into the secrets of planting tomatoes the right way, so you can have a bountiful harvest this season.
Why Planting Depth Matters for Tomatoes
Planting depth is one of the most important factors influencing the growth, vigor, and overall health of your tomato plants. Understanding why it's so crucial will empower you to make the right decisions from the start. The correct depth is essential for establishing a strong root system. A robust root system provides stability for the plant, and allows it to efficiently absorb water and nutrients from the soil. Furthermore, proper planting depth plays a role in disease prevention. Planting too shallow can leave roots exposed and vulnerable to drying out. Planting too deep can suffocate the plant and create conditions conducive to fungal diseases. Getting it just right sets the stage for healthy, thriving tomato plants all season long.
How Deep ShouldYou Plant Tomatoes? The Magic Number!
The golden rule for planting tomatoes is to bury as much of the stem as possible. Yes, you read that right! Unlike many other plants, tomatoes have the amazing ability to grow roots all along their stems. Planting deeply encourages the development of a larger, more extensive root system. This leads to stronger, healthier plants that are better able to withstand drought, disease, and other environmental stressors. As a general rule of thumb, you can safely bury up to two-thirds of the tomato plant's stem. This might seem counterintuitive, but trust the process! You'll be rewarded with sturdier and more productive tomato plants.
Benefits of Deep Planting
Deep planting is a fantastic technique when planting tomatoes. Here's why:
- Stronger Root System: As mentioned, burying the stem encourages the formation of adventitious roots. These extra roots increase the plant's ability to absorb water and nutrients, resulting in healthier and more productive plants.
- Increased Stability: A larger root system provides better anchorage for the plant, especially in windy conditions. This can help prevent the plant from toppling over, particularly when it's laden with heavy fruits.
- Improved Nutrient Uptake: With more roots to work with, the plant can efficiently absorb nutrients from a larger area of the soil. This can lead to faster growth and more abundant yields.
- Disease Resistance: Deep planting can help bury any soil-borne diseases that may be present near the surface. By developing roots deeper in the soil, the plant can avoid these pathogens and stay healthier.
- Protection from Cold: Burying a significant portion of the stem can help protect the plant from late frosts. The soil acts as an insulator, helping to keep the plant warm and prevent frost damage.
Step-by-Step Guide to Planting Tomatoes Deep
Here's a step-by-step guide to planting tomatoes deeply:
- Prepare the Planting Hole: Dig a hole that is deep enough to bury up to two-thirds of the tomato plant's stem. The width of the hole should be sufficient to accommodate the root ball comfortably.
- Remove Lower Leaves: Gently remove the lower leaves from the stem that will be buried. This will prevent them from rotting and potentially causing disease.
- Place the Plant in the Hole: Carefully place the tomato plant in the hole, ensuring that the lowest remaining leaves are just above the soil line.
- Backfill with Soil: Backfill the hole with soil, gently patting it down around the stem. Be careful not to compact the soil too much.
- Water Thoroughly: Water the newly planted tomato plant thoroughly to help settle the soil and encourage root growth.
- Mulch (Optional): Apply a layer of mulch around the base of the plant to help retain moisture, suppress weeds, and regulate soil temperature.
Alternative Planting Methods: Trench Planting and Horizontal Planting
While deep planting is the most common method, there are alternative techniques that can be beneficial in certain situations.
Trench Planting
Trench planting is a great option if your tomato seedlings are leggy or overgrown. This method involves digging a shallow trench instead of a deep hole. Lay the tomato plant horizontally in the trench, burying most of the stem and leaving only the top few leaves exposed. The buried stem will develop roots along its entire length, resulting in a very strong and vigorous plant. This technique is particularly useful for rescuing leggy seedlings that might otherwise struggle to establish themselves.
Horizontal Planting
Similar to trench planting, horizontal planting involves laying the tomato plant on its side in a shallow trench. The main difference is that the top of the plant is gently curved upwards, so that the leaves are facing the sky. This method is less common than trench planting, but it can be useful for maximizing root development in a small space. It is suitable for plants where the central stem has already started to thicken, and you are concerned about bending and snapping it. Laying the plant at an angle is a good solution in this case.
What if You Can't Plant Deeply? Considerations and Alternatives
There might be certain situations where deep planting isn't feasible, such as:
- Rocky Soil: If your soil is very rocky, it might be difficult to dig a deep enough hole.
- Poor Drainage: In areas with poor drainage, planting too deeply can increase the risk of root rot.
- Established Plants: If you're transplanting an established tomato plant from a pot, it might be difficult to bury a significant portion of the stem without damaging the roots.
In these cases, there are a few alternatives you can consider:
- Mounding: Create a mound of soil around the base of the plant to encourage root development.
- Staking or Caging: Provide support for the plant to prevent it from toppling over, especially if it doesn't have a very extensive root system.
- Improved Drainage: Amend the soil with organic matter to improve drainage and reduce the risk of root rot.
The Role of Soil Temperature and Mulch
Soil temperature plays a critical role in the success of tomato planting. Tomatoes are heat-loving plants, and they thrive in warm soil. Ideally, the soil temperature should be at least 60°F (16°C) before planting. Planting in cold soil can stunt growth and increase the risk of disease. Using a soil thermometer to check the temperature is an easy and inexpensive way to be certain the soil is warmed up enough to receive your tomato seedlings.
Mulch also plays a critical role in keeping your tomato plants happy. Mulch can also help to regulate soil temperature, retain moisture, and suppress weeds. Organic mulches, such as straw, hay, or wood chips, are particularly beneficial because they decompose over time, adding nutrients to the soil. Apply a layer of mulch around the base of the plant, being careful not to pile it up against the stem. A 2-3 inch layer of mulch is usually sufficient.
Troubleshooting: Common Mistakes and Solutions
Even with the best intentions, you might encounter some challenges when planting tomatoes. Here are some common mistakes and how to fix them:
- Wilting After Planting: This is often caused by transplant shock. Water the plant thoroughly and provide some shade for a few days to help it recover.
- Yellowing Leaves: Yellowing leaves can be a sign of nutrient deficiency, overwatering, or disease. Check the soil moisture and nutrient levels, and take appropriate action.
- Slow Growth: Slow growth can be caused by cold soil, poor drainage, or lack of sunlight. Ensure that the plant is getting enough warmth, light, and well-drained soil.
Final Thoughts on How Deep to Plant
Planting tomatoes deeply is a simple yet powerful technique that can significantly improve the health and productivity of your tomato plants. By following the guidelines outlined in this article, you'll be well on your way to harvesting a bountiful crop of delicious, homegrown tomatoes. Remember to adjust your approach based on your specific growing conditions and the needs of your plants. Happy gardening!
If you're eager to start growing but lack outdoor space, consider the Ahopegarden Indoor Garden Hydroponics Growing System. This versatile hydroponic planter offers a convenient way to harvest your own lettuce, herbs, and vegetables indoors, any time of year. Get your hydroponics germination kit today! Hydroponics Growing System Link