Are you dreaming of juicy, sun-ripened tomatoes bursting with flavor, but lack the space or the time for a traditional garden? Or perhaps you're tired of constantly worrying about whether your tomato plants are getting enough water? Then, the world of self-watering containers might just be your gardening salvation! Let's dive in and explore how you can grow amazing tomatoes using this clever and convenient method. The Magic of Self Watering Containers for Tomato Plants Self-watering containers, sometimes called sub-irrigated planters (SIPs), are designed to provide a consistent and reliable water supply to your plants, minimizing the need for frequent watering and dramatically reducing water waste. For tomato plants, which are known for their thirstiness, this can be a game-changer! The beauty of a tomato plant self watering container lies in its simplicity and efficiency. It essentially creates a mini-reservoir beneath the soil, allowing the plant...
Picture this: sun-ripened tomatoes bursting with flavor, perfect for homemade pasta sauce, a fresh Caprese salad, or simply slicing and enjoying with a sprinkle of salt. Growing your own tomatoes, especially versatile Roma tomatoes, is easier than you might think, and it all starts with the seedling. Let's explore the ins and outs of cultivating these delicious fruits from tiny seeds to bountiful harvest.
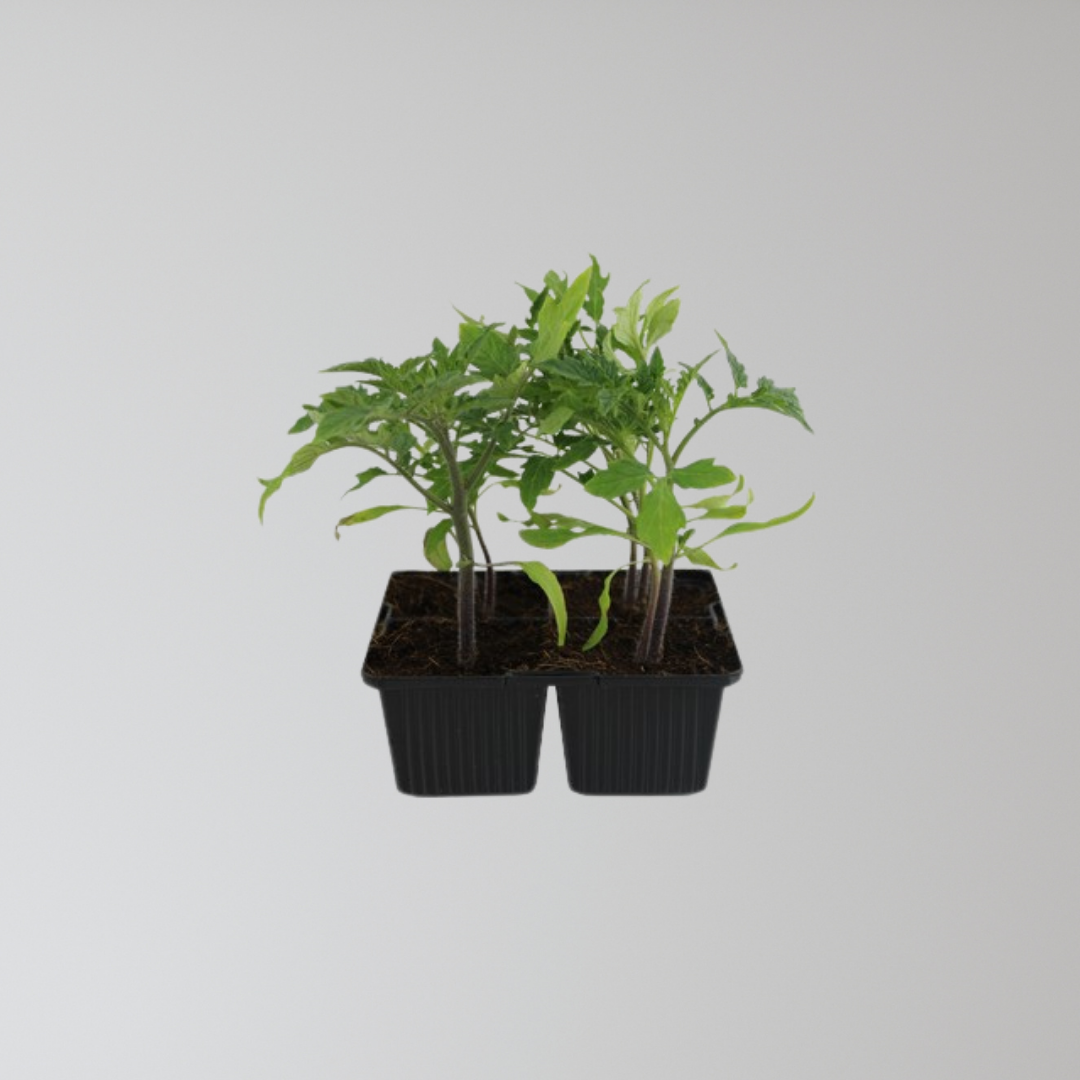
Understanding Roma Tomato Seedlings
Roma tomatoes, also known as plum tomatoes, are a popular choice for home gardeners due to their elongated shape, meaty texture, and relatively few seeds. These qualities make them ideal for canning, sauces, and pastes. Understanding the characteristics of Roma tomato seedlings is crucial for a successful growing season. A healthy seedling is the foundation for a productive plant, ensuring you get the best possible yield of delicious, homegrown tomatoes.
Roma tomato seedling success begins with understanding the life cycle. It starts with sowing seeds, nurturing them through germination, and then caring for the young seedlings until they are ready to be transplanted outdoors. Factors such as temperature, light, and moisture play vital roles during these early stages. Selecting high-quality seeds from a reputable supplier is also extremely important. Look for seeds that are certified disease-free to minimize potential problems down the road. Starting with a strong seedling significantly increases your chances of harvesting an abundance of Roma tomatoes later in the season.
Starting Roma Tomato Seedlings Indoors
Starting your Roma tomato seedlings indoors offers several advantages, especially in regions with short growing seasons. It allows you to get a head start on the growing season, giving your plants extra time to mature and produce fruit before the first frost. Generally, you should start your seedlings about 6-8 weeks before the last expected frost in your area.
Choosing the Right Supplies
To successfully start Roma tomato seedlings indoors, you'll need a few key supplies:
- Seed starting mix: This is a lightweight, sterile potting mix specifically formulated for starting seeds. Avoid using garden soil, as it can be too heavy and may contain diseases or pests.
- Seed trays or small pots: These containers will hold the seedlings as they grow. Choose containers with drainage holes to prevent waterlogging.
- Grow lights: Seedlings need plenty of light to grow strong and healthy. A grow light will provide the necessary light, especially if you don't have a sunny window.
- Heat mat (optional): Roma tomato seeds germinate best in warm soil. A heat mat can help to maintain the ideal soil temperature.
- Spray bottle: Used to gently water the seedlings without disturbing them.
For optimal results, consider a self-watering seed starting kit. These kits, complete with a humidity dome and plant seedling trays, offer a convenient way to nurture your future Roma tomato plants. You can find a reliable option here: Seed Starter Trays Self-Watering - Kit with Humidity Dome, 5-Pack 60-Cell Plant Seedling Tray,Reusable Germination Trays for Indoor Gardening Seeds Growing Starting.
The Sowing Process
Once you've gathered your supplies, follow these steps to sow your Roma tomato seeds:
- Fill your seed trays or pots with seed starting mix.
- Moisten the mix thoroughly with water.
- Sow 2-3 seeds per cell or pot, about ¼ inch deep.
- Gently cover the seeds with soil.
- Cover the trays with a humidity dome or plastic wrap to help retain moisture.
- Place the trays in a warm location or on a heat mat.
Caring for Seedlings
After the seeds germinate, typically within 5-10 days, remove the humidity dome and place the seedlings under grow lights. Keep the lights on for 14-16 hours per day. Water the seedlings regularly, keeping the soil moist but not soggy. Once the seedlings have developed their first set of true leaves (the second set of leaves to appear), thin them to one seedling per cell or pot by snipping off the weaker seedlings at the soil line. This will prevent overcrowding and allow the remaining seedling to grow stronger.
A crucial aspect of caring for your Roma tomato seedlings is hardening them off before transplanting them outdoors. Hardening off is the process of gradually acclimating the seedlings to outdoor conditions. This involves exposing them to increasing amounts of sunlight, wind, and temperature fluctuations over a period of 7-10 days. Start by placing the seedlings in a sheltered location outdoors for a few hours each day, gradually increasing the time they spend outside and exposing them to more direct sunlight. This process strengthens the plants and reduces the risk of transplant shock.
Transplanting Roma Tomato Seedlings Outdoors
After hardening off, your Roma tomato seedlings are ready to be transplanted outdoors. Choose a sunny location with well-drained soil. Roma tomatoes need at least 6-8 hours of sunlight per day. Amend the soil with compost or other organic matter to improve its fertility and drainage.
When to Transplant
Transplant your Roma tomato seedlings outdoors after the danger of frost has passed and the soil has warmed up. Generally, this is about 2-3 weeks after the last expected frost. Check your local weather forecast to be sure. Transplanting too early can damage or kill your seedlings.
A critical factor to consider when transplanting your Roma tomato seedlings is the soil temperature. Tomato plants thrive in soil that is consistently warm. Ideally, the soil temperature should be at least 60°F (16°C) before transplanting. You can use a soil thermometer to check the temperature. If the soil is still too cold, you can use black plastic mulch to warm it up before transplanting. Planting in warm soil will encourage rapid root growth and help the seedlings establish themselves quickly.
The Transplanting Process
Follow these steps to transplant your Roma tomato seedlings outdoors:
- Dig a hole slightly larger than the root ball of the seedling.
- Gently remove the seedling from its container, being careful not to damage the roots.
- Place the seedling in the hole and backfill with soil.
- Water the seedling thoroughly.
- Add a stake or tomato cage to support the plant as it grows.
When transplanting, consider planting your Roma tomato seedlings deeper than they were growing in their containers. Tomatoes have the unique ability to grow roots along their stems, so burying a portion of the stem will encourage more root growth and result in a stronger, more resilient plant. Simply pinch off the lower leaves and plant the seedling deep enough that the first set of leaves is just above the soil surface.
Caring for Mature Roma Tomato Plants
Once your Roma tomato plants are established, they will require regular care to thrive. This includes watering, fertilizing, and pruning. Consistent care is essential for a bountiful harvest of delicious, juicy Roma tomatoes.
Watering and Fertilizing
Water your Roma tomato plants deeply and regularly, especially during hot, dry weather. Aim to water at the base of the plant to avoid wetting the foliage, which can encourage disease. Fertilize your tomato plants every 2-3 weeks with a balanced fertilizer or a fertilizer specifically formulated for tomatoes. Follow the instructions on the fertilizer label. Avoid over-fertilizing, as this can lead to excessive foliage growth at the expense of fruit production.
The frequency of watering for your Roma tomato seedlings can vary depending on factors such as the weather, soil type, and plant size. As a general rule, aim to provide about 1-2 inches of water per week. Monitor the soil moisture regularly by sticking your finger into the soil to a depth of about 2 inches. If the soil feels dry, it's time to water. Using a soaker hose or drip irrigation can help to deliver water directly to the roots and reduce water loss through evaporation.
Pruning and Support
Prune your Roma tomato plants regularly to improve air circulation and encourage fruit production. Remove suckers (the small shoots that grow between the main stem and the branches) to direct the plant's energy into producing tomatoes. Support your tomato plants with stakes or tomato cages to prevent them from sprawling on the ground and becoming susceptible to disease.
One popular pruning technique for Roma tomato seedlings is known as "determinate pruning." Roma tomatoes are typically determinate varieties, meaning they grow to a certain size and then produce all of their fruit at once. For determinate varieties, pruning is less critical than for indeterminate varieties. However, removing the suckers below the first flower cluster can help to improve air circulation and encourage larger, earlier fruit production. Be careful not to remove too much foliage, as this can reduce the plant's ability to photosynthesize and produce energy.
Troubleshooting Common Problems with Roma Tomato Seedlings
Even with the best care, your Roma tomato seedlings may encounter some problems. Here are some common issues and how to address them:
- Leggy seedlings: This is usually caused by insufficient light. Provide more light or move the seedlings closer to the light source.
- Damping off: This is a fungal disease that can kill seedlings. Use a sterile seed starting mix and avoid overwatering.
- Pests: Aphids, whiteflies, and other pests can attack seedlings. Inspect your seedlings regularly and treat them with an insecticidal soap if necessary.
- Yellowing leaves: This can be caused by nutrient deficiencies. Fertilize the seedlings with a balanced fertilizer.
Early detection and swift action are key to addressing any problems that arise with your Roma tomato seedlings. Regularly inspect your plants for signs of pests, diseases, or nutrient deficiencies. If you notice anything unusual, take steps to identify the problem and implement appropriate solutions as soon as possible. Consulting with a local gardening expert or extension service can also be helpful in diagnosing and treating plant problems.
Harvesting and Enjoying Your Roma Tomatoes
After all your hard work, the best part is harvesting your homegrown Roma tomatoes! Roma tomatoes are typically ready to harvest about 75-80 days after transplanting. The tomatoes should be firm, plump, and fully colored. Gently twist the tomatoes off the vine. Use your Roma tomatoes in sauces, pastes, canning, salads, or simply enjoy them fresh off the vine. The possibilities are endless!