Are you dreaming of juicy, sun-ripened tomatoes bursting with flavor, but lack the space or the time for a traditional garden? Or perhaps you're tired of constantly worrying about whether your tomato plants are getting enough water? Then, the world of self-watering containers might just be your gardening salvation! Let's dive in and explore how you can grow amazing tomatoes using this clever and convenient method. The Magic of Self Watering Containers for Tomato Plants Self-watering containers, sometimes called sub-irrigated planters (SIPs), are designed to provide a consistent and reliable water supply to your plants, minimizing the need for frequent watering and dramatically reducing water waste. For tomato plants, which are known for their thirstiness, this can be a game-changer! The beauty of a tomato plant self watering container lies in its simplicity and efficiency. It essentially creates a mini-reservoir beneath the soil, allowing the plant...
Have you ever dreamed of picking fresh, juicy tomatoes right from your kitchen counter, even in the dead of winter? Well, dream no more! Growing micro tomatoes indoors is not only possible, it’s surprisingly easy and rewarding. Get ready to embark on a miniature gardening adventure that will bring a burst of flavor and color to your home.
How To Grow Micro Tomatoes: A Complete Guide
What Are Micro Tomatoes?
Micro tomatoes, also known as dwarf or miniature tomatoes, are specifically bred varieties that are incredibly small in size, both in terms of the plant itself and the fruit it produces. Unlike regular tomatoes that can sprawl and climb, micro tomatoes typically stay under 12 inches tall, making them perfect for growing in small spaces like apartments, balconies, or even on a sunny windowsill. The fruits themselves are also smaller, often cherry-sized or smaller, but pack a concentrated burst of tomato flavor. They offer the satisfaction of growing your own tomatoes without the space commitment of traditional varieties. Think of it as a miniature tomato plant that brings the garden right to your kitchen!
Benefits of Growing Micro Tomatoes
Growing micro tomatoes offers a multitude of benefits, especially for urban dwellers or those with limited outdoor space.
- Space-saving: Their compact size makes them ideal for small apartments, balconies, or even windowsills. You don't need a sprawling garden to enjoy fresh tomatoes.
- Year-round harvest: Because they thrive indoors, you can enjoy fresh tomatoes even during the colder months when outdoor gardening is impossible. Forget store-bought tomatoes – you can have vine-ripened flavor all year long!
- Easy to grow: Micro tomatoes are relatively easy to care for, even for beginners. They don't require extensive pruning or staking, making them a low-maintenance option.
- Ornamental value: With their vibrant green foliage and colorful fruits, micro tomatoes add a touch of beauty to any indoor space. They're not just a source of food, but also a decorative element.
- Educational: Growing micro tomatoes can be a fun and educational activity for children, teaching them about plant life cycles and where their food comes from.
Choosing the Right Micro Tomato Varieties
Selecting the right micro tomato variety is crucial for success. Look for varieties specifically labeled as "micro" or dwarf.Here are some popular and recommended options:
- Tiny Tim: A classic micro tomato variety known for its small size (around 6-8 inches tall) and bright red, cherry-sized fruits.
- Red Robin: Another popular choice, Red Robin produces clusters of small, sweet tomatoes on compact plants.
- Micro Tom: One of the smallest tomato varieties available, Micro Tom plants typically reach only 4-6 inches in height.
- Venus: A dwarf variety with a slightly bushier growth habit and good yields of small, red tomatoes.
- Pinocchio: Produces small, oval-shaped tomatoes with a slightly tangy flavor.
When choosing your variety, consider factors such as taste preference, fruit size, and plant size to find the perfect match for your growing space and needs.
Setting Up Your Micro Tomato Garden
Before you start planting, you'll need to gather the necessary supplies to create a thriving environment for your micro tomatoes.
Essential Supplies
- Containers: Choose pots that are at least 6 inches in diameter, preferably with drainage holes. Terra cotta pots are a good option as they allow the soil to breathe.
- Potting mix: Use a high-quality potting mix specifically formulated for vegetables. Avoid using garden soil, as it can become compacted and doesn't drain well.
- Grow lights: If you don't have a sunny windowsill, you'll need to supplement with grow lights. LED grow lights are energy-efficient and provide the full spectrum of light that plants need to thrive.
- Fertilizer: Use a liquid fertilizer formulated for tomatoes, diluted to half strength.
- Watering can or spray bottle: To water your plants gently and evenly.
Ideal Growing Conditions
Micro tomatoes, like all tomatoes, need specific conditions to flourish. Here's what to keep in mind:
- Light: Micro tomatoes need at least 6-8 hours of direct sunlight per day. If you're growing them indoors, supplement with grow lights. Position the lights a few inches above the plants and adjust as they grow.
- Temperature: The ideal temperature range for growing micro tomatoes is between 65-80°F (18-27°C). Avoid placing them near drafty windows or vents.
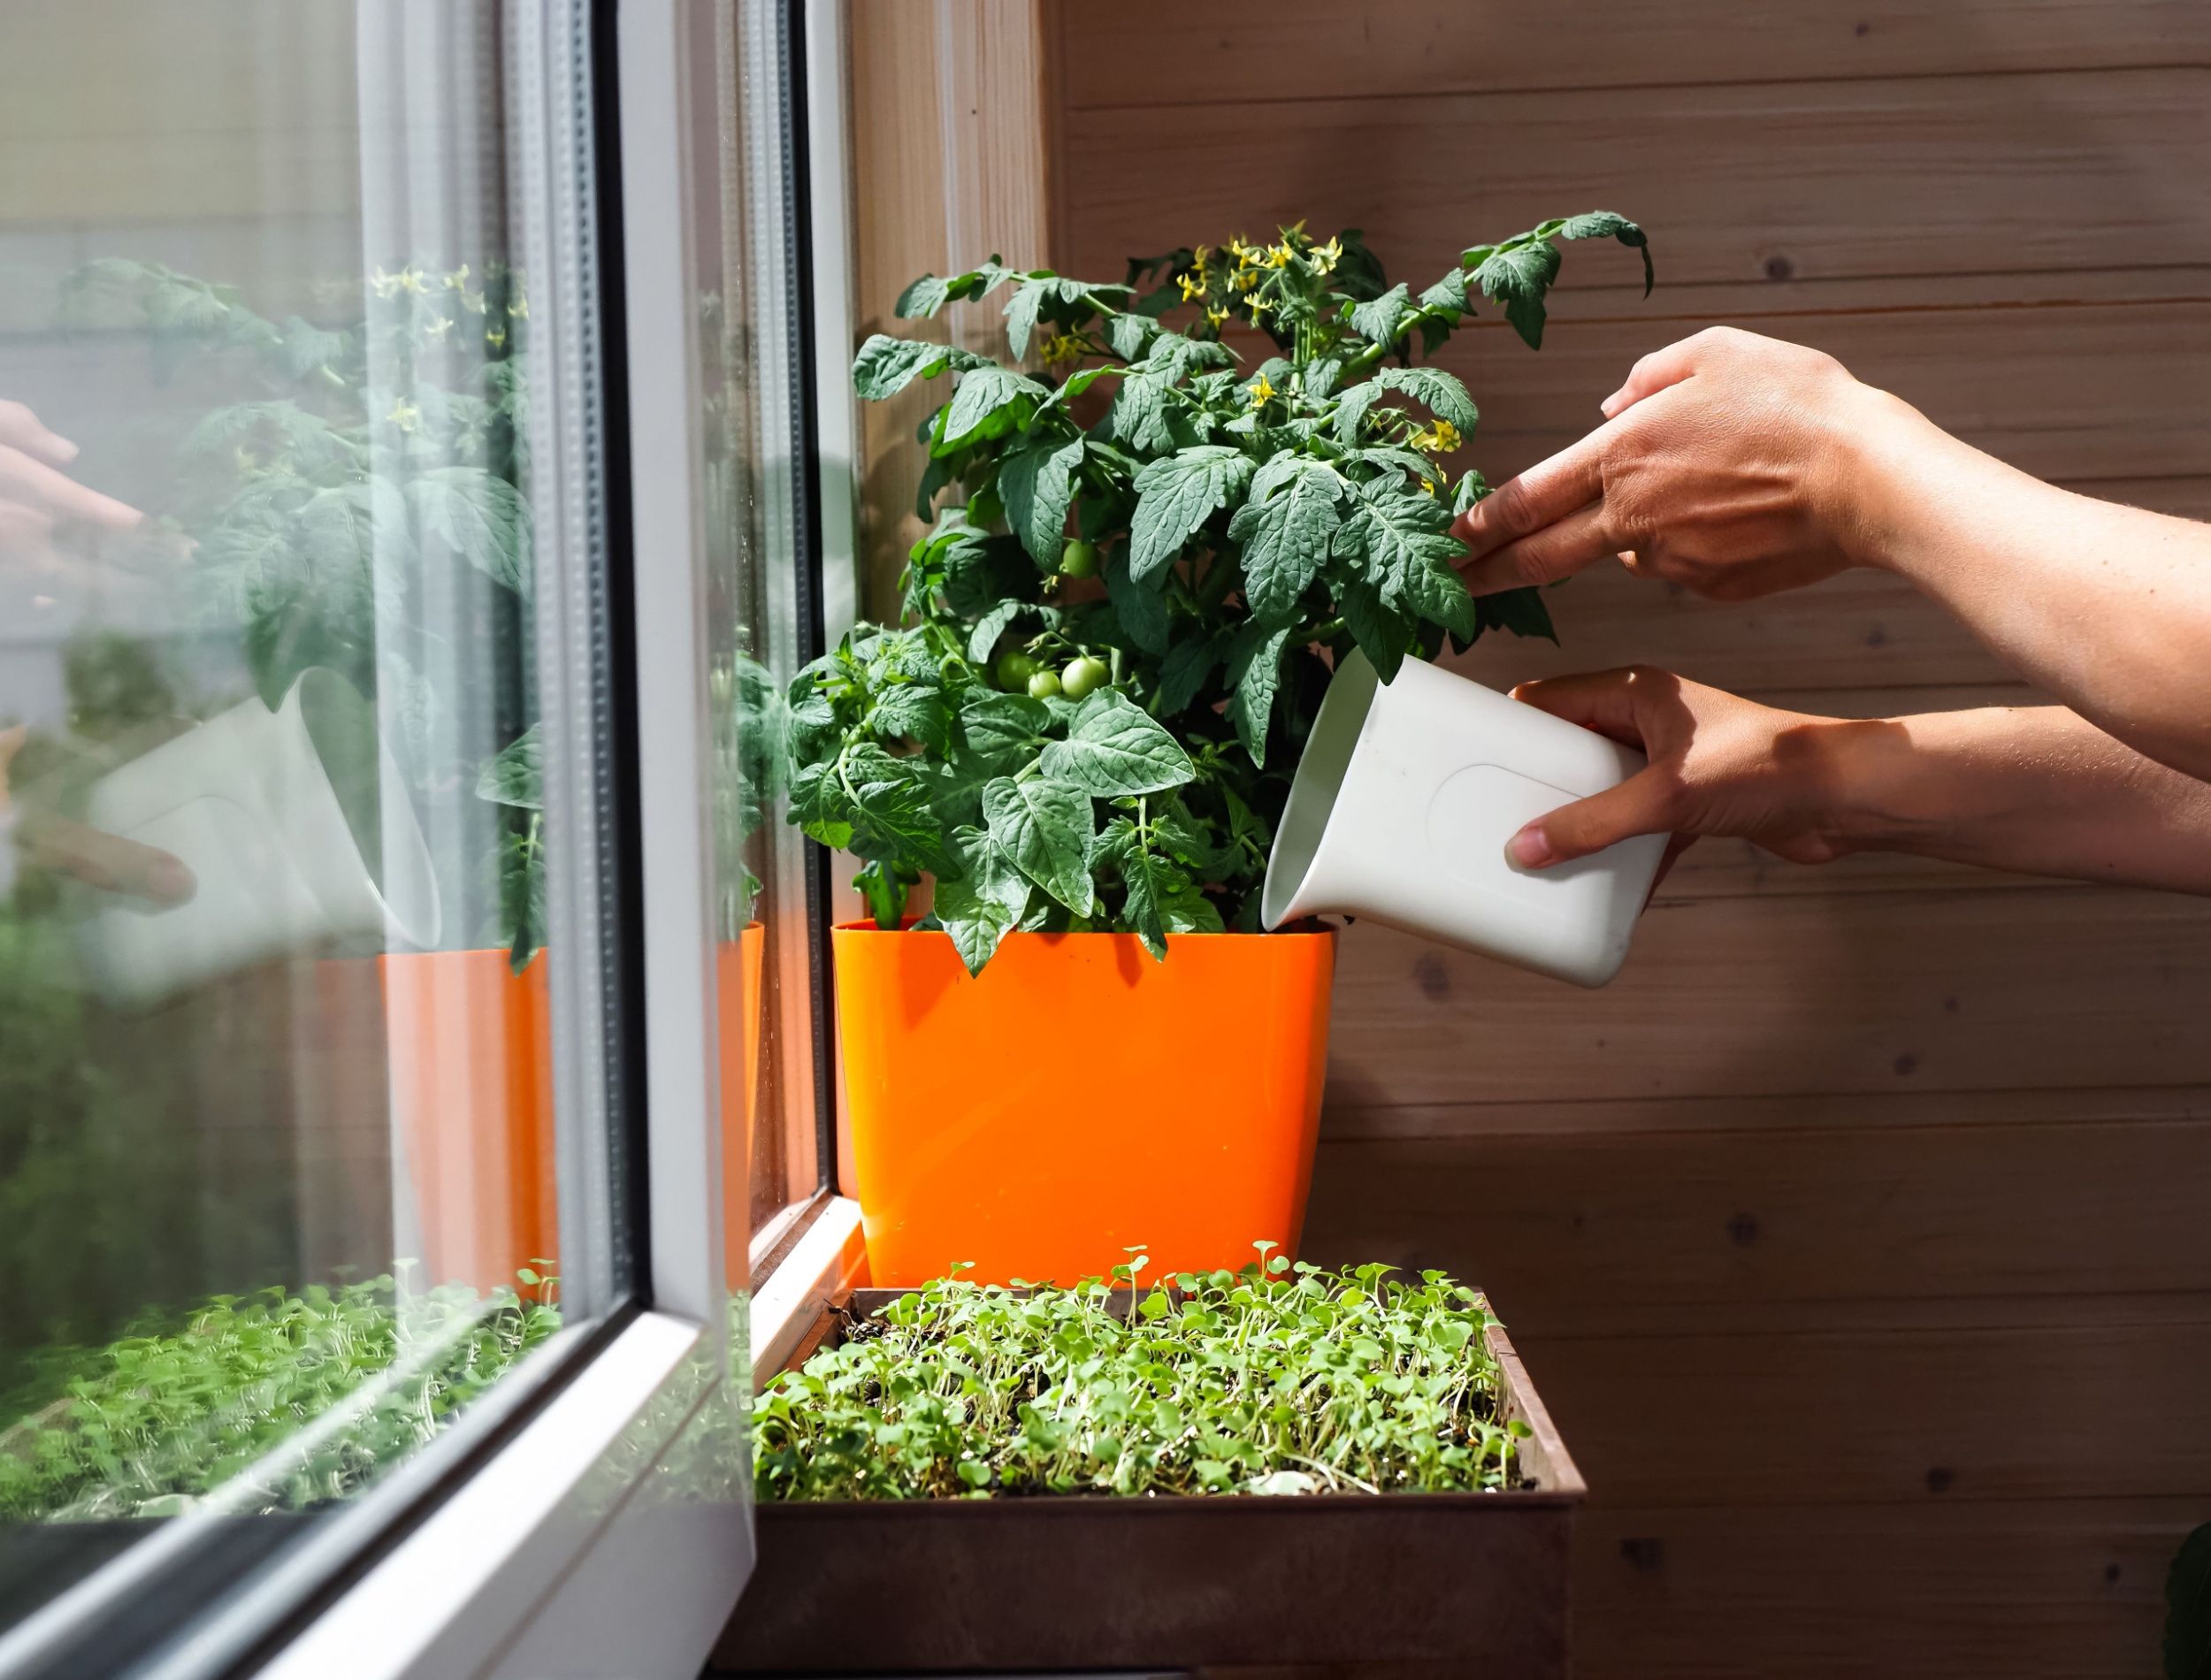
- Watering: Keep the soil consistently moist, but not waterlogged. Water when the top inch of soil feels dry to the touch. Avoid overwatering, which can lead to root rot.
- Humidity: Micro tomatoes prefer moderate humidity. If your indoor environment is very dry, you can increase humidity by placing a tray of water near the plants or using a humidifier.
Consider creating an efficient indoor garden with anaeroponic system. For an easy and contained setup, explore options like the Ahopegarden Indoor Garden Hydroponics Growing System, which includes 10 pods and an LED grow light, perfect for growing herbs and vegetables, including your micro tomatoes. You can find this convenient hydroponic planter on Amazon:Ahopegarden Indoor Garden Hydroponics Growing System.
Planting and Caring for Your Micro Tomatoes
Once you've gathered your supplies and set up your growing space, it's time to plant your micro tomatoes. You can start from seed or purchase starter plants from a nursery.
Starting from Seed
Starting from seed allows you to choose from a wider variety of micro tomato varieties. Here's how to do it:
- Sow seeds: Fill small seed starting trays or pots with seed starting mix. Sow seeds about ¼ inch deep and gently water.
- Provide warmth and light: Place the trays in a warm location (around 70-75°F) and provide ample light. A heat mat can help speed up germination.
- Keep soil moist: Keep the soil consistently moist, but not waterlogged.
- Transplant seedlings: Once the seedlings have developed a few sets of true leaves (usually after 4-6 weeks), transplant them into their final pots.
Caring for Your Plants
Once your micro tomatoes are established, regular care is essential to ensure healthy growth and abundant fruit production.
- Watering: Water regularly, allowing the top inch of soil to dry out between waterings. Avoid getting water on the leaves, as this can promote fungal diseases.
- Fertilizing: Fertilize every 2-3 weeks with a liquid fertilizer formulated for tomatoes, diluted to half strength.
- Pruning: Micro tomatoes generally don't require extensive pruning, but you can remove any yellowing or dead leaves.
- Pollination: While micro tomatoes are often self-pollinating, you can help them along by gently shaking the plants or using a small brush to transfer pollen from one flower to another.
- Pest and disease control: Monitor your plants regularly for signs of pests or diseases. Common pests include aphids and whiteflies. Treat infestations with insecticidal soap or neem oil. Ensure good air circulation to prevent fungal diseases.
Harvesting and Enjoying Your Micro Tomatoes
The best part of growing micro tomatoes is, of course, harvesting and enjoying the fruits of your labor! Here's what you need to know:
When to Harvest
Micro tomatoes are typically ready to harvest when they are fully colored and slightly soft to the touch. The exact color will depend on the variety you're growing. Gently twist or snip the tomatoes from the plant.
Storing and Using Your Harvest
Freshly harvested micro tomatoes can be stored at room temperature for a few days or in the refrigerator for up to a week. Use them in salads, as a garnish, or simply pop them in your mouth for a burst of flavor. You can also roast, sauté, or pickle your micro tomatoes. Here are some delicious ideas:
- Salads: Add micro tomatoes to salads for a pop of color and sweetness.
- Snacks: Enjoy them as a healthy and satisfying snack.
- Garnish: Use them to garnish dishes like pasta, grilled chicken, or fish.
- Roasted tomatoes: Roast micro tomatoes with olive oil, garlic, and herbs for a flavorful side dish.
- Tomato sauce: Use them to make a small batch of fresh tomato sauce.
Troubleshooting Common Problems
Even with the best care, you may encounter some challenges when growing micro tomatoes. Here are some common problems and how to address them:
- Yellowing leaves: Could be caused by overwatering, underwatering, nutrient deficiencies, or pests. Adjust your watering schedule, fertilize regularly, and check for pests.
- Blossom end rot: Caused by calcium deficiency. Ensure consistent watering and supplement with calcium if necessary.
- Lack of fruit: Could be caused by insufficient light, poor pollination, or extreme temperatures. Provide adequate light, assist with pollination, and maintain a stable temperature.
- Pests: Treat infestations with insecticidal soap or neem oil.
- Diseases: Ensure good air circulation and treat with appropriate fungicides if necessary.
By following these tips and troubleshooting any issues that arise, you'll be well on your way to enjoying a bountiful harvest of delicious, homegrown micro tomatoes. Happy growing!