Are you dreaming of juicy, sun-ripened tomatoes bursting with flavor, but lack the space or the time for a traditional garden? Or perhaps you're tired of constantly worrying about whether your tomato plants are getting enough water? Then, the world of self-watering containers might just be your gardening salvation! Let's dive in and explore how you can grow amazing tomatoes using this clever and convenient method. The Magic of Self Watering Containers for Tomato Plants Self-watering containers, sometimes called sub-irrigated planters (SIPs), are designed to provide a consistent and reliable water supply to your plants, minimizing the need for frequent watering and dramatically reducing water waste. For tomato plants, which are known for their thirstiness, this can be a game-changer! The beauty of a tomato plant self watering container lies in its simplicity and efficiency. It essentially creates a mini-reservoir beneath the soil, allowing the plant...
Imagine plucking a sun-ripened, juicy tomato right from your kitchen counter, even in the dead of winter. Sounds like a dream? It's not! With an Aerogarden, growing your own tomatoes indoors is easier than you might think. Let's dive into the wonderful world of growing tomatoes in your Aerogarden!
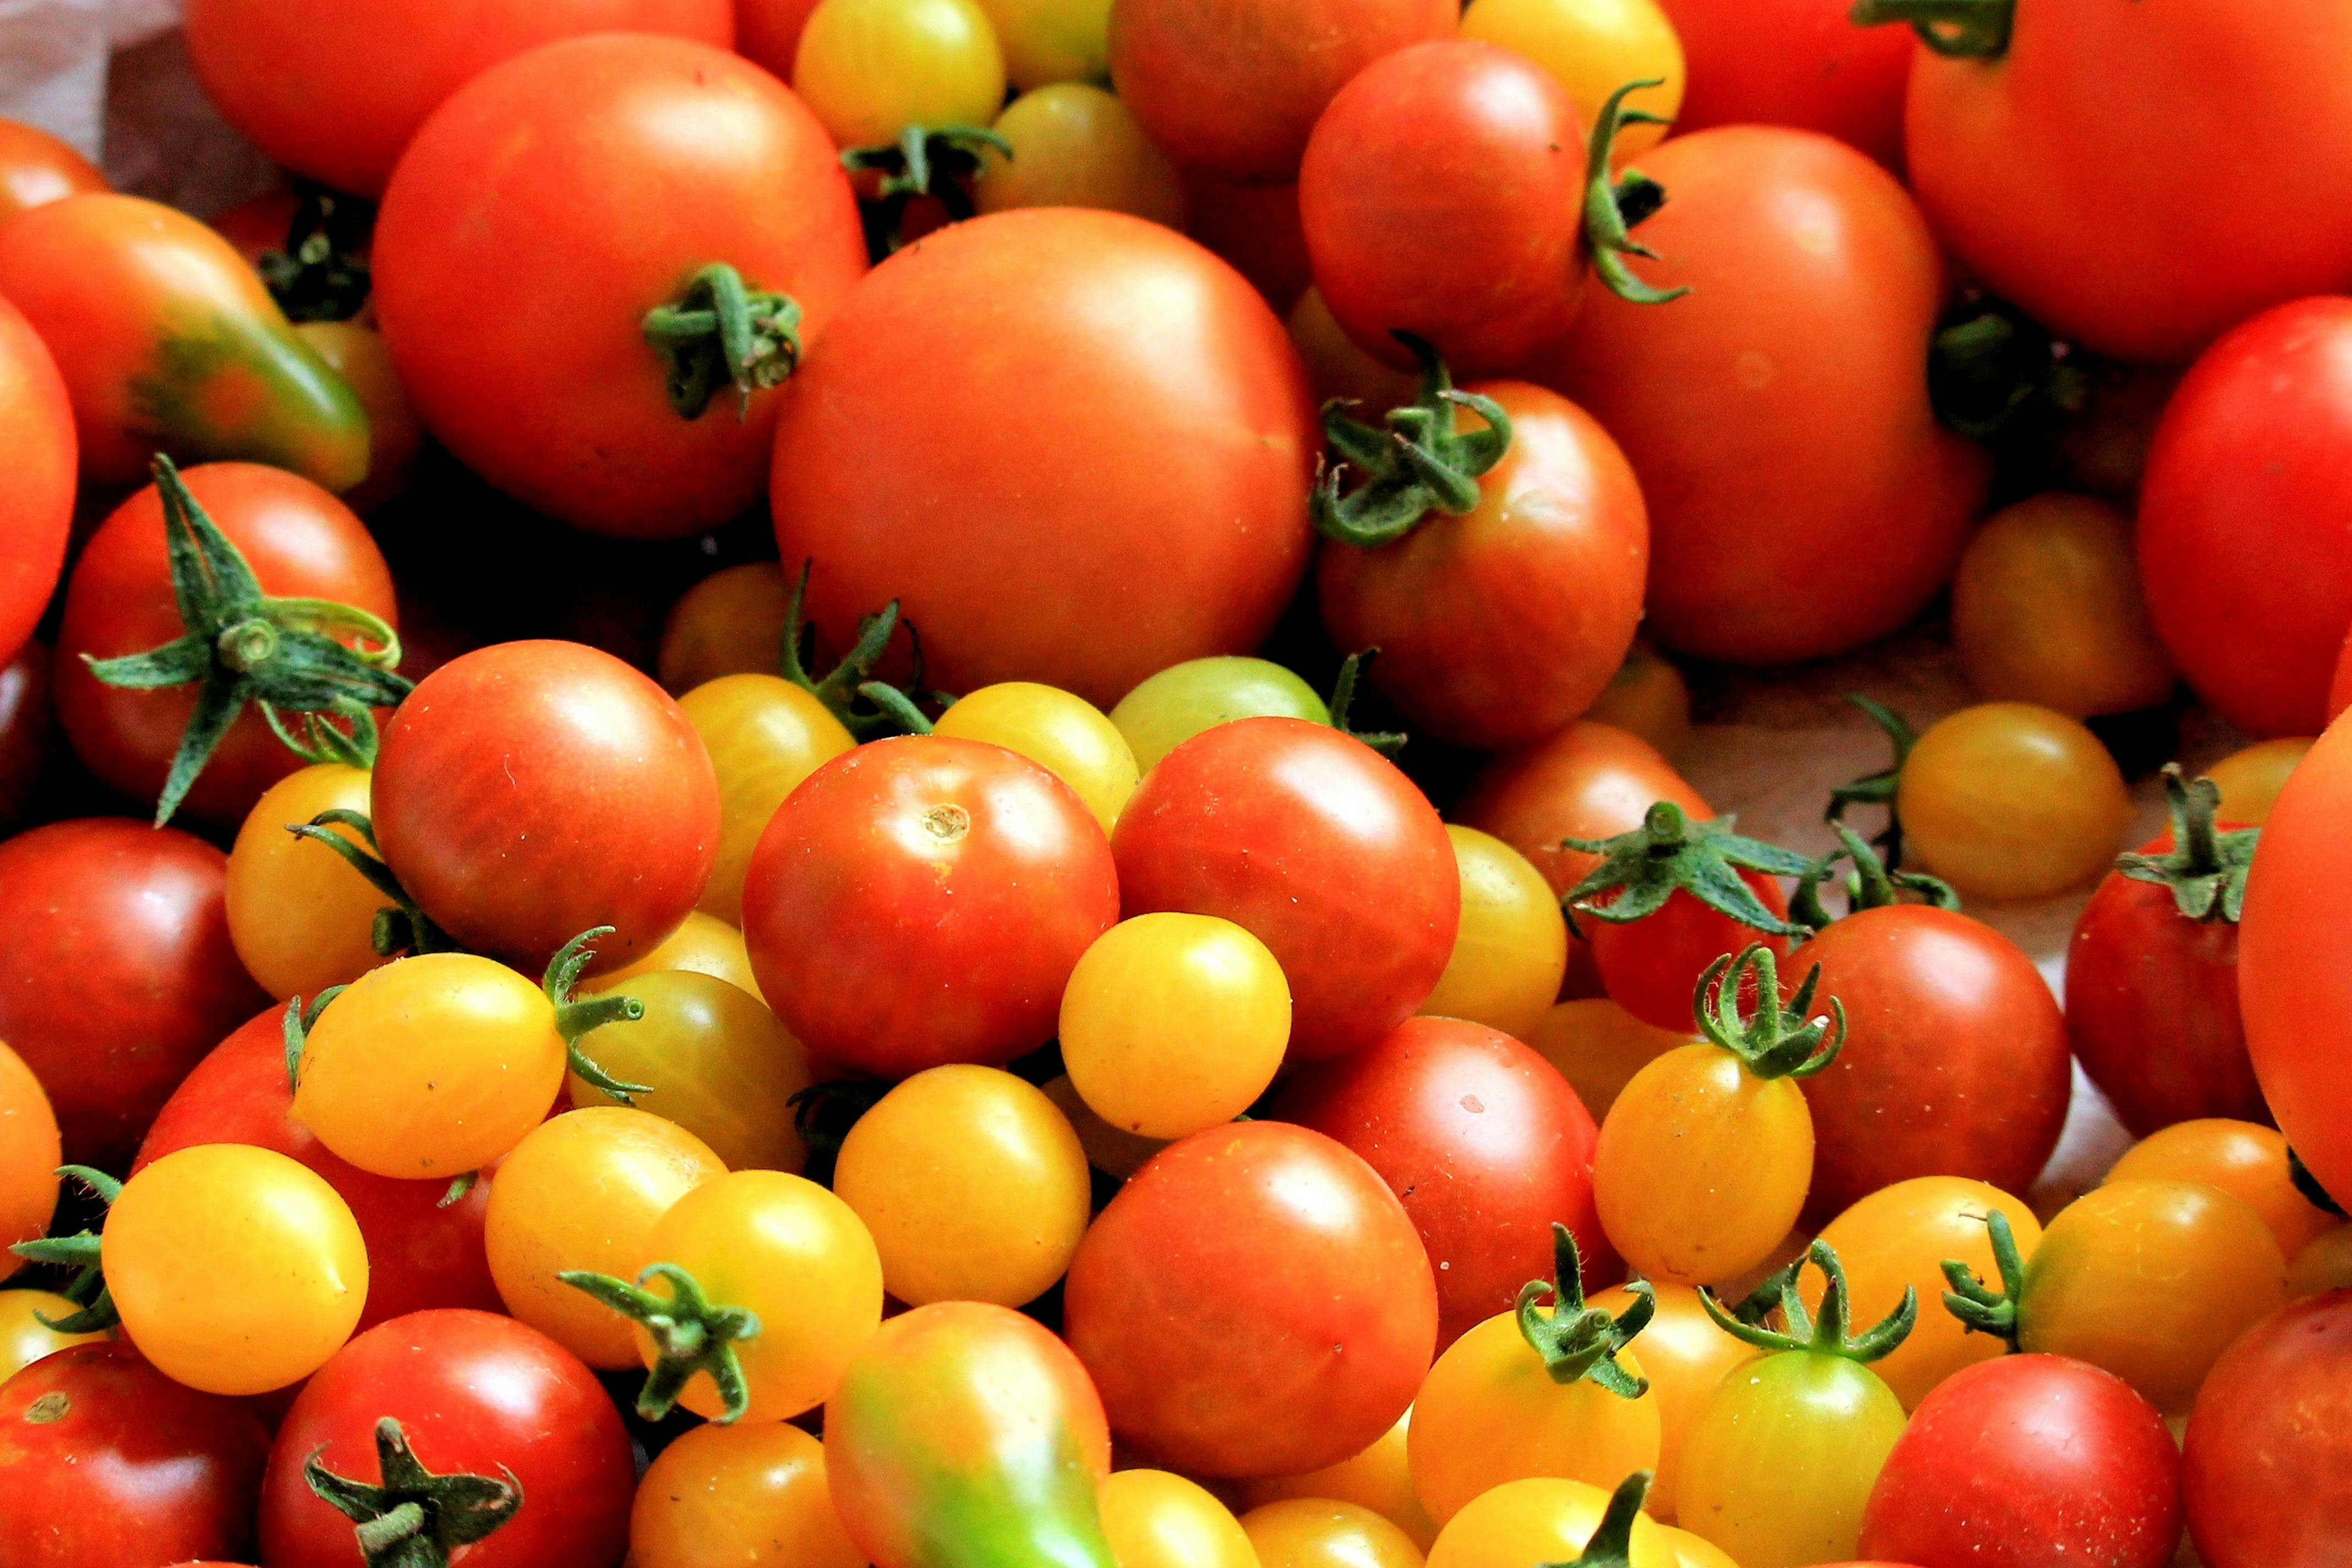
Why Grow Tomatoes in an Aerogarden?
There are tons of reasons why you might want to consider growing tomatoes in your Aerogarden. First and foremost, it offers aconsistent growing environment, free from the unpredictable weather and pests that can plague outdoor gardens. This means you can enjoy fresh tomatoes year-round, regardless of your climate. Aerogardens also offer precise control over nutrients and light, optimizing growth and yields. Let's explore some more advantages:
- Year-round harvesting: Enjoy fresh tomatoes whenever you want.
- Space-saving: Ideal for apartments, condos, or small homes.
- Reduced risk of pests and diseases: Indoor growing minimizes exposure to common garden problems.
- Control over growing conditions: Optimize light, nutrients, and temperature for optimal tomato growth.
- Educational and fun: A great project for families and individuals alike!
Choosing the Right Tomato Variety for Your Aerogarden
Not all tomatoes are created equal, especially when it comes to indoor growing. You need to select varieties that are well-suited to the confined space and controlled environment of an Aerogarden.Determinate ordwarf varieties are your best bet. These tomatoes have a compact growth habit, meaning they won't outgrow your Aerogarden as quickly as larger, indeterminate types. Indeterminate varieties require significant pruning and support, which can be challenging in an Aerogarden setup.
Recommended Tomato Varieties:
- Tiny Tim: As the name suggests, these are incredibly small and perfect for Aerogardens.
- Patio Tomato: Specifically bred for container gardening, these are a reliable choice.
- Red Robin: Another dwarf variety that produces clusters of small, sweet tomatoes.
- Roma: Can be grown in Aerogarden, but requires more pruning to keep it manageable.
- Tumbling Tom: A cascading variety that can be hung or trained to grow downwards, adding visual appeal.
Before you start, consider the flavor profile you desire. Do you want sweet cherry tomatoes, or something more tangy for sauces? Understanding the growth habits and flavor characteristics of different varieties will set you up for success.
Setting Up Your Aerogarden for Tomatoes
Preparing your Aerogarden for tomato growing is crucial for maximizing yield and plant health. You'll need to consider lighting, nutrients, and support systems.
Lighting:
Tomatoes are heavy feeders when it comes to light. The standard LED grow lights that come with most Aerogarden models may be sufficient for the initial stages of growth, but you'll likely need to supplement them, especially as your plants mature and begin to fruit. Consider adding an additional LED grow light positioned directly above your plants to provide the intense light they need to produce abundant tomatoes. Aim for at least 14-16 hours of light per day.
Nutrients:
Tomatoes require a specific balance of nutrients to thrive. Use a hydroponic nutrient solution formulated for fruiting plants. These solutions typically have a higher phosphorus and potassium content, which are essential for fruit development. Follow the manufacturer's instructions carefully, as over-fertilizing can be just as harmful as under-fertilizing. A good schedule to follow would be:
- Seedling Stage: Use a diluted nutrient solution (1/4 strength).
- Vegetative Stage: Gradually increase the nutrient concentration to 1/2 strength.
- Flowering/Fruiting Stage: Use full-strength nutrient solution formulated for tomatoes.
Regularly monitor the p H of your nutrient solution, as tomatoes prefer a slightly acidic environment (p H 6.0-6.5). You can use a p H testing kit or meter to ensure the p H is within the optimal range.
Support Systems:
Even dwarf tomato varieties can become quite heavy with fruit. Providing adequate support is essential to prevent branches from breaking and to keep your plants upright. Here are some support options:
- Tomato Cages: Small tomato cages can be placed around individual plants to provide support.
- Trellises: Trellises can be used to train your tomato plants to grow upwards.
- Stakes: Individual stakes can be used to support specific branches that are laden with fruit.
- Twine: Use twine to gently tie branches to the support structure.
The type of support you choose will depend on the variety of tomato you are growing and the size of your Aerogarden. Remember to install the support system early in the growing process, before the plants become too large and unwieldy.
Germinating Tomato Seeds in Your Aerogarden
Germinating tomato seeds in your Aerogarden is a simple and effective way to start your plants. Here's a step-by-step guide:
- Prepare your Aerogarden: Fill the water reservoir with water and add the appropriate amount of nutrient solution.
- Insert seed pods: Place the tomato seeds in the Aerogarden seed pods. Most Aerogarden seed pod kits come with sponges which are ideal for seed germination.
- Cover the pods: Cover the seed pods with the provided humidity domes. This will help create a warm, moist environment that is conducive to germination.
- Turn on the lights: Turn on the Aerogarden lights and set the timer according to the manufacturer's instructions.
- Monitor germination: Check the seed pods daily for signs of germination. Once the seeds have sprouted, remove the humidity domes.
Germination typically takes 7-14 days, depending on the variety of tomato and the temperature of your environment.
Caring for Your Aerogarden Tomatoes
Once your tomato seedlings have emerged, it's time to provide them with the care they need to thrive. Here are some essential tips:
Pruning:
Pruning is essential for maintaining the shape and size of your tomato plants, especially in the confined space of an Aerogarden. Remove suckers (the small shoots that grow between the main stem and the branches) regularly. This will encourage the plant to focus its energy on producing fruit rather than foliage. Also remove any yellowing or dead leaves to prevent the spread of disease. You'll want to prune the plant every one to two weeks.
Pollination:
Tomatoes are self-pollinating, but they often need a little help, especially indoors where there are no bees or wind to assist. You can hand-pollinate your tomato plants by gently shaking the flowers or using a small paintbrush to transfer pollen from one flower to another. You can also use a small fan to create airflow around the plants, which will help to distribute the pollen.
Watering:
Your Aerogarden automatically waters your plants, but you'll need to monitor the water level in the reservoir and refill it as needed. Be sure to use filtered water to avoid mineral buildup. If you notice the water in the reservoir is evaporating quickly, you may need to add water more frequently.
Pest and Disease Control:
Although Aerogardens are less prone to pests and diseases than outdoor gardens, it's still important to be vigilant. Inspect your plants regularly for any signs of problems. If you spot pests, such as aphids or whiteflies, you can try washing them off with a strong stream of water or using an insecticidal soap. If you notice any signs of disease, such as powdery mildew or leaf spot, remove the affected leaves and treat the plant with a fungicide.
Troubleshooting Common Problems
Even with the best care, you may encounter some challenges when growing tomatoes in your Aerogarden. Here are some common problems and how to solve them:
- Yellowing Leaves: Could indicate nutrient deficiency, overwatering, or underwatering. Check the nutrient solution, p H, and water level.
- Blossom End Rot: Caused by calcium deficiency. Ensure you are using a nutrient solution that contains calcium and maintain consistent watering.
- Leggy Growth: Insufficient light. Supplement with additional grow lights.
- Lack of Fruit: Insufficient pollination. Hand-pollinate the flowers.
Don't be discouraged if you encounter problems along the way. Gardening is a learning process, and every mistake is an opportunity to improve your skills. With a little patience and persistence, you'll be harvesting delicious, homegrown tomatoes in no time.
Harvesting and Enjoying Your Aerogarden Tomatoes
Harvest time is the most rewarding part of growing tomatoes in your Aerogarden! Tomatoes are typically ready to harvest when they are fully colored and slightly soft to the touch. Gently twist the tomato from the vine, being careful not to damage the plant. Enjoy your homegrown tomatoes in salads, sandwiches, sauces, or simply eat them straight off the vine. The flavor of fresh, homegrown tomatoes is unmatched!
Promotional Paragraph
Want to get started with hydroponic gardening and grow tomatoes from the comfort of your own home? Consider trying an indoor garden system like theAhopegarden Indoor Garden Hydroponics Growing System. This 10-pod plant germination kit comes with an aeroponic system, LED grow light, and is perfect for growing herbs and vegetables like lettuce. You can check it out here:Ahopegarden Hydroponics System.