Are you dreaming of juicy, sun-ripened tomatoes bursting with flavor, but lack the space or the time for a traditional garden? Or perhaps you're tired of constantly worrying about whether your tomato plants are getting enough water? Then, the world of self-watering containers might just be your gardening salvation! Let's dive in and explore how you can grow amazing tomatoes using this clever and convenient method. The Magic of Self Watering Containers for Tomato Plants Self-watering containers, sometimes called sub-irrigated planters (SIPs), are designed to provide a consistent and reliable water supply to your plants, minimizing the need for frequent watering and dramatically reducing water waste. For tomato plants, which are known for their thirstiness, this can be a game-changer! The beauty of a tomato plant self watering container lies in its simplicity and efficiency. It essentially creates a mini-reservoir beneath the soil, allowing the plant...
Imagine the burst of sweet, tangy flavor as you pluck a sun-ripened cherry tomato straight from the vine. Now, imagine that vine is thriving right on your patio, balcony, or even indoors! Growing cherry tomatoes in pots from seeds is easier than you might think, and with a little know-how, you can enjoy a bountiful harvest of these little gems all season long.
Why Grow Cherry Tomatoes in Pots from Seeds?
Growing cherry tomatoes in pots from seeds offers a ton of advantages. Firstly, it provides incredible flexibility. Whether you have a sprawling garden or a tiny apartment balcony, container gardening allows you to grow these delicious treats virtually anywhere. Secondly, starting from seed gives you complete control over the varieties you grow. You can select heirloom types, disease-resistant cultivars, or simply your personal favorites. Lastly, it's incredibly rewarding to nurture a tiny seed into a thriving, fruit-bearing plant. The process is not only fun but also educational, especially if you involve children.
Benefits of Growing Cherry Tomatoes in Containers:
- Space-saving: Ideal for small spaces like balconies, patios, and apartments.
- Portability: Easily move plants to optimize sunlight exposure or protect them from harsh weather.
- Control over soil: You can use a specific soil mix that’s perfect for cherry tomatoes.
- Reduced pest and disease pressure: Elevated containers make it harder for some pests to reach your plants.
- Early harvest: Start seeds indoors to get a head start on the growing season.
Choosing the Right Cherry Tomato Variety for Pots
Not all cherry tomato varieties are created equal, especially when it comes to container gardening. Compact or determinate varieties are generally better suited for pots than large, sprawling indeterminate types. Determinate varieties grow to a certain size and then produce all their fruit at once, making them ideal for smaller spaces. Indeterminate varieties, on the other hand, continue to grow and produce fruit throughout the season, requiring more support and space. Consider these factors when choosing your seeds.
Popular Cherry Tomato Varieties for Pots:
- Tiny Tim: A super-compact variety perfect for very small spaces, producing small, red tomatoes.
- Tumbling Tom: A trailing variety ideal for hanging baskets or containers, producing sweet, red tomatoes.
- Patio F: A compact hybrid known for its disease resistance and abundant yield of medium-sized red tomatoes.
- Black Cherry: A unique variety with a rich, smoky flavor and deep, purplish-black fruits.
- Sun Gold: An incredibly sweet and flavorful golden-orange variety, highly sought after by home gardeners.
When selecting your seeds, consider factors like disease resistance, flavor, and the size of the plant. Read reviews and descriptions carefully to find varieties that will thrive in your specific growing conditions. For example, if you live in a humid climate, look for varieties that are resistant to fungal diseases like early blight and Septoria leaf spot.
Starting Cherry Tomato Seeds Indoors
Starting cherry tomato seeds indoors allows you to get a head start on the growing season, especially in regions with short summers. It also gives you more control over the growing environment, ensuring strong, healthy seedlings.
Step-by-Step Guide to Starting Seeds Indoors:
- Gather your supplies: You'll need seed starting trays or small pots, seed starting mix, cherry tomato seeds, a spray bottle, and a heat mat (optional but recommended).
- Sow the seeds: Fill the trays or pots with seed starting mix and moisten it thoroughly. Sow the seeds about ¼ inch deep, placing 2-3 seeds per cell or pot.
- Provide warmth and light: Place the trays or pots on a heat mat and cover them with a humidity dome or plastic wrap to create a warm, humid environment. Once the seedlings emerge, remove the cover and provide them with bright light. A grow light is ideal, but a sunny windowsill can also work.
- Water regularly: Keep the soil consistently moist but not waterlogged. Use a spray bottle to gently water the seedlings from the bottom to avoid damping off, a fungal disease that can kill young seedlings.
- Thin the seedlings: Once the seedlings have their first true leaves (the leaves that appear after the initial seed leaves), thin them to one seedling per cell or pot. Choose the strongest, healthiest seedling and carefully snip off the others at the soil line.
- Harden off the seedlings: Before transplanting the seedlings outdoors, you need to harden them off, gradually acclimating them to outdoor conditions. Start by placing the seedlings outside in a sheltered location for an hour or two each day, gradually increasing the time over the course of a week.
Transplanting Cherry Tomato Seedlings into Pots
Once your seedlings have been hardened off and the danger of frost has passed, it's time to transplant them into their final pots. Choose pots that are at least 12 inches in diameter and 12 inches deep, providing enough space for the roots to grow. Larger pots are even better, as they will retain moisture longer and provide more room for root development.
Transplanting Tips:
- Choose the right potting mix: Use a high-quality potting mix that is well-draining and rich in organic matter. Avoid using garden soil, as it can compact in containers and impede drainage.
- Prepare the pots: Fill the pots with potting mix, leaving a few inches of space at the top.
- Gently remove the seedlings: Carefully remove the seedlings from their trays or pots, being careful not to damage the roots.
- Plant the seedlings: Dig a hole in the potting mix that is large enough to accommodate the root ball. Plant the seedling at the same depth it was growing in its previous container.
- Water thoroughly: Water the seedlings thoroughly after transplanting to help them settle in.
- Add support: If you are growing an indeterminate variety, provide support for the plants by staking them, caging them, or trellising them.
Consider adding a slow-release fertilizer to the potting mix at the time of transplanting to provide the plants with a steady supply of nutrients. Alternatively, you can fertilize regularly with a liquid fertilizer.
Caring for Cherry Tomatoes in Pots
Once your cherry tomato plants are established in their pots, they require regular care to thrive and produce a bountiful harvest. This includes proper watering, fertilizing, pruning, and pest control.
Essential Care Tips:
- Watering: Water deeply and regularly, especially during hot, dry weather. Aim to keep the soil consistently moist but not waterlogged. Check the soil moisture by sticking your finger into the soil about an inch deep. If it feels dry, it's time to water.
- Fertilizing: Feed your cherry tomato plants regularly with a balanced fertilizer, following the instructions on the label. Fertilize every 2-3 weeks during the growing season.
- Pruning: Prune your cherry tomato plants regularly to remove suckers (the shoots that grow in the crotch between the main stem and the branches). Pruning helps to improve air circulation and promote fruit production.
- Pest and disease control: Monitor your plants regularly for pests and diseases. Common pests of cherry tomatoes include aphids, whiteflies, and tomato hornworms. Diseases include early blight, Septoria leaf spot, and blossom end rot. Treat any problems promptly with appropriate organic or chemical controls.
- Sunlight: Ensure your cherry tomato plants receive at least 6-8 hours of direct sunlight per day. If you are growing them indoors, supplement with grow lights if necessary.
Blossom end rot, a common problem in tomatoes, is caused by a calcium deficiency. To prevent blossom end rot, ensure that your plants have consistent access to water and that the soil is rich in calcium. You can add calcium to the soil by mixing in bone meal or crushed eggshells.
Harvesting Cherry Tomatoes
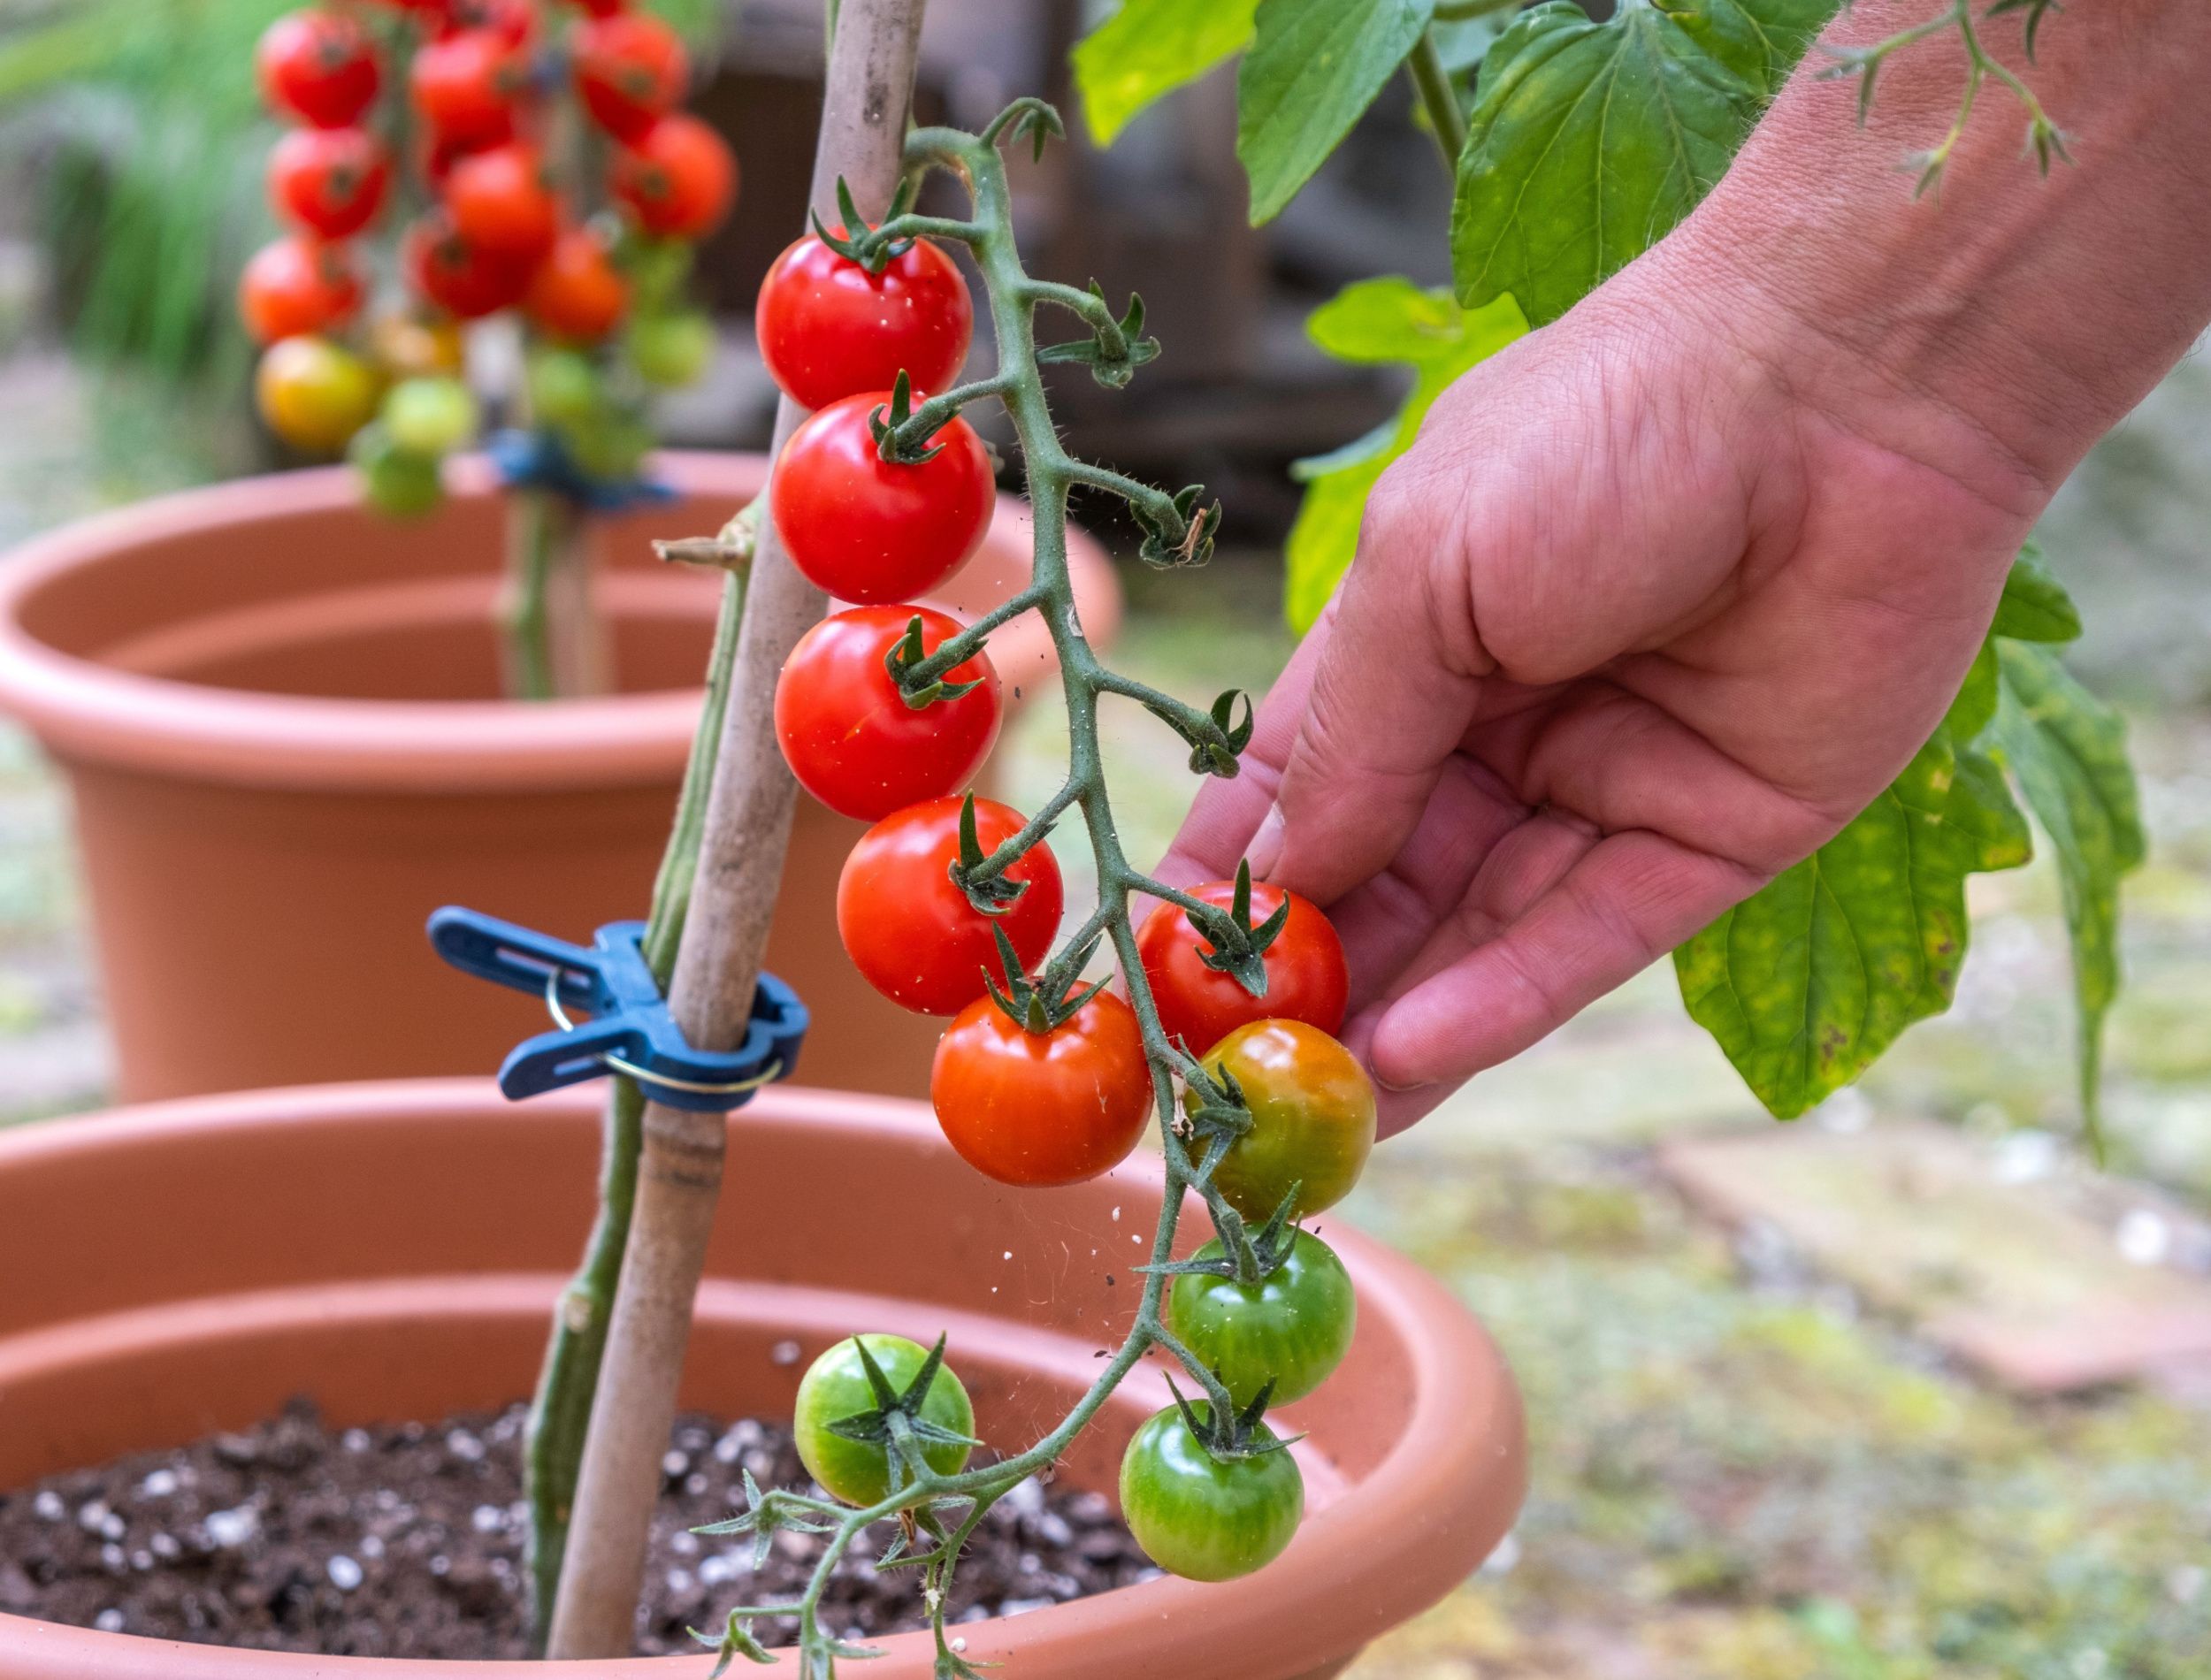
Harvesting cherry tomatoes is one of the most rewarding parts of growing them. Cherry tomatoes are typically ready to harvest about 60-80 days after transplanting, depending on the variety. The fruits should be fully colored, slightly soft to the touch, and easily detach from the vine.
Harvesting Tips:
- Harvest regularly: Pick the tomatoes as they ripen to encourage continued fruit production.
- Handle gently: Cherry tomatoes are delicate and can bruise easily. Handle them with care when harvesting.
- Store properly: Store harvested cherry tomatoes at room temperature for the best flavor. Avoid refrigerating them, as this can diminish their flavor and texture.
Troubleshooting Common Problems When Growing Cherry Tomatoes in Pots From Seed
Even with the best care, you may encounter some challenges when growing cherry tomatoes in pots from seed. Here are some common problems and their solutions:
Common Issues and Solutions:
- Yellowing leaves: This could be a sign of nutrient deficiency, overwatering, or underwatering. Check the soil moisture and fertilize accordingly.
- Wilting leaves: This could be caused by underwatering, heat stress, or disease. Water deeply and provide shade during the hottest part of the day.
- Blossom drop: This is often caused by temperature fluctuations, high humidity, or poor pollination. Ensure that your plants are receiving adequate sunlight and air circulation.
- Cracked fruits: This can be caused by inconsistent watering. Water deeply and regularly to prevent the soil from drying out completely.
Growing cherry tomatoes in pots from seeds is a relatively straightforward process, but it does require some attention to detail. By following these tips and troubleshooting any problems that arise, you can enjoy a bountiful harvest of delicious, homegrown cherry tomatoes.
For those looking for an even easier way to start growing, consider a hydroponic system. Something like theAhopegarden Indoor Garden Hydroponics Growing System, a 10 Pod Plant Germination Kitwith Aeroponic Herb Vegetable Growth Lamp, can be a great alternative. ThisCountertop Growing System with LED Grow Light is an excellentHydrophonic Planter toHarvest Lettuce and other greens easily! Find it here: https://amzn.to/3RPpa Sk.