Are you dreaming of juicy, sun-ripened tomatoes bursting with flavor, but lack the space or the time for a traditional garden? Or perhaps you're tired of constantly worrying about whether your tomato plants are getting enough water? Then, the world of self-watering containers might just be your gardening salvation! Let's dive in and explore how you can grow amazing tomatoes using this clever and convenient method. The Magic of Self Watering Containers for Tomato Plants Self-watering containers, sometimes called sub-irrigated planters (SIPs), are designed to provide a consistent and reliable water supply to your plants, minimizing the need for frequent watering and dramatically reducing water waste. For tomato plants, which are known for their thirstiness, this can be a game-changer! The beauty of a tomato plant self watering container lies in its simplicity and efficiency. It essentially creates a mini-reservoir beneath the soil, allowing the plant...
Imagine biting into a juicy, sun-ripened tomato, bursting with flavor, grown right in your own home. It's more achievable than you think! Starting tomato plants from seed indoors is a rewarding project that allows you to control the variety and get a head start on the growing season. Let’s explore how you can bring this delicious dream to life.
Why Start Tomato Plants From Seed Indoors?
There are several compelling reasons to begin your tomato journey indoors. Perhaps the most significant is the control you gain over the entire process. Instead of relying on commercially available seedlings, you can choose from a vast array of tomato varieties, including heirlooms and unique cultivars that might not be found at your local garden center. This allows you to tailor your garden to your specific tastes and preferences, ensuring you get the tomatoes you truly desire.
Another major benefit is the jumpstart it provides on the growing season. By starting seeds indoors 6-8 weeks before the last expected frost, you can extend the harvest period. This is particularly crucial in regions with short summers where time is of the essence. With a head start, your tomato plants will be larger and more productive when transplanted outdoors, resulting in an earlier and more abundant harvest.
Cost savings can also be a factor. Purchasing seed packets is generally much more economical than buying individual seedlings, especially if you plan to grow a large number of tomato plants. This can be a significant advantage for home gardeners on a budget, enabling them to grow a wider variety of tomatoes without breaking the bank.
Benefits of Starting Tomato Seeds Indoors:
- Variety Selection: Access a wider range of tomato varieties.
- Extended Season: Get a head start on the growing season and enjoy an earlier harvest.
- Cost-Effective: Save money compared to buying seedlings.
- Control Over Growing Conditions: Ensure healthy, disease-free plants from the beginning.
Gathering Your Supplies for Indoor Tomato Seed Starting
Before you sow your first tomato seed, gather all the necessary supplies. Having everything on hand will streamline the process and set you up for success. Here’s a breakdown of what you’ll need:
- Tomato Seeds: Choose your desired varieties. Consider factors like disease resistance, growth habit (determinate or indeterminate), and flavor profile.
- Seed Starting Trays or Containers: These should have drainage holes to prevent waterlogging. Peat pots, plastic trays, or even repurposed containers like yogurt cups can work.
- Seed Starting Mix: A lightweight, sterile mix specifically formulated for seed starting is essential. Avoid using garden soil, as it can compact and harbor diseases.
- Watering Can or Spray Bottle: Use a gentle stream of water to avoid disturbing the seeds.
- Heat Mat (Optional): Tomato seeds germinate best in warm conditions (75-85°F). A heat mat can help maintain a consistent temperature.
- Grow Lights: Provide supplemental light for seedlings, especially if you don't have a bright, sunny window. Fluorescent or LED grow lights are ideal.
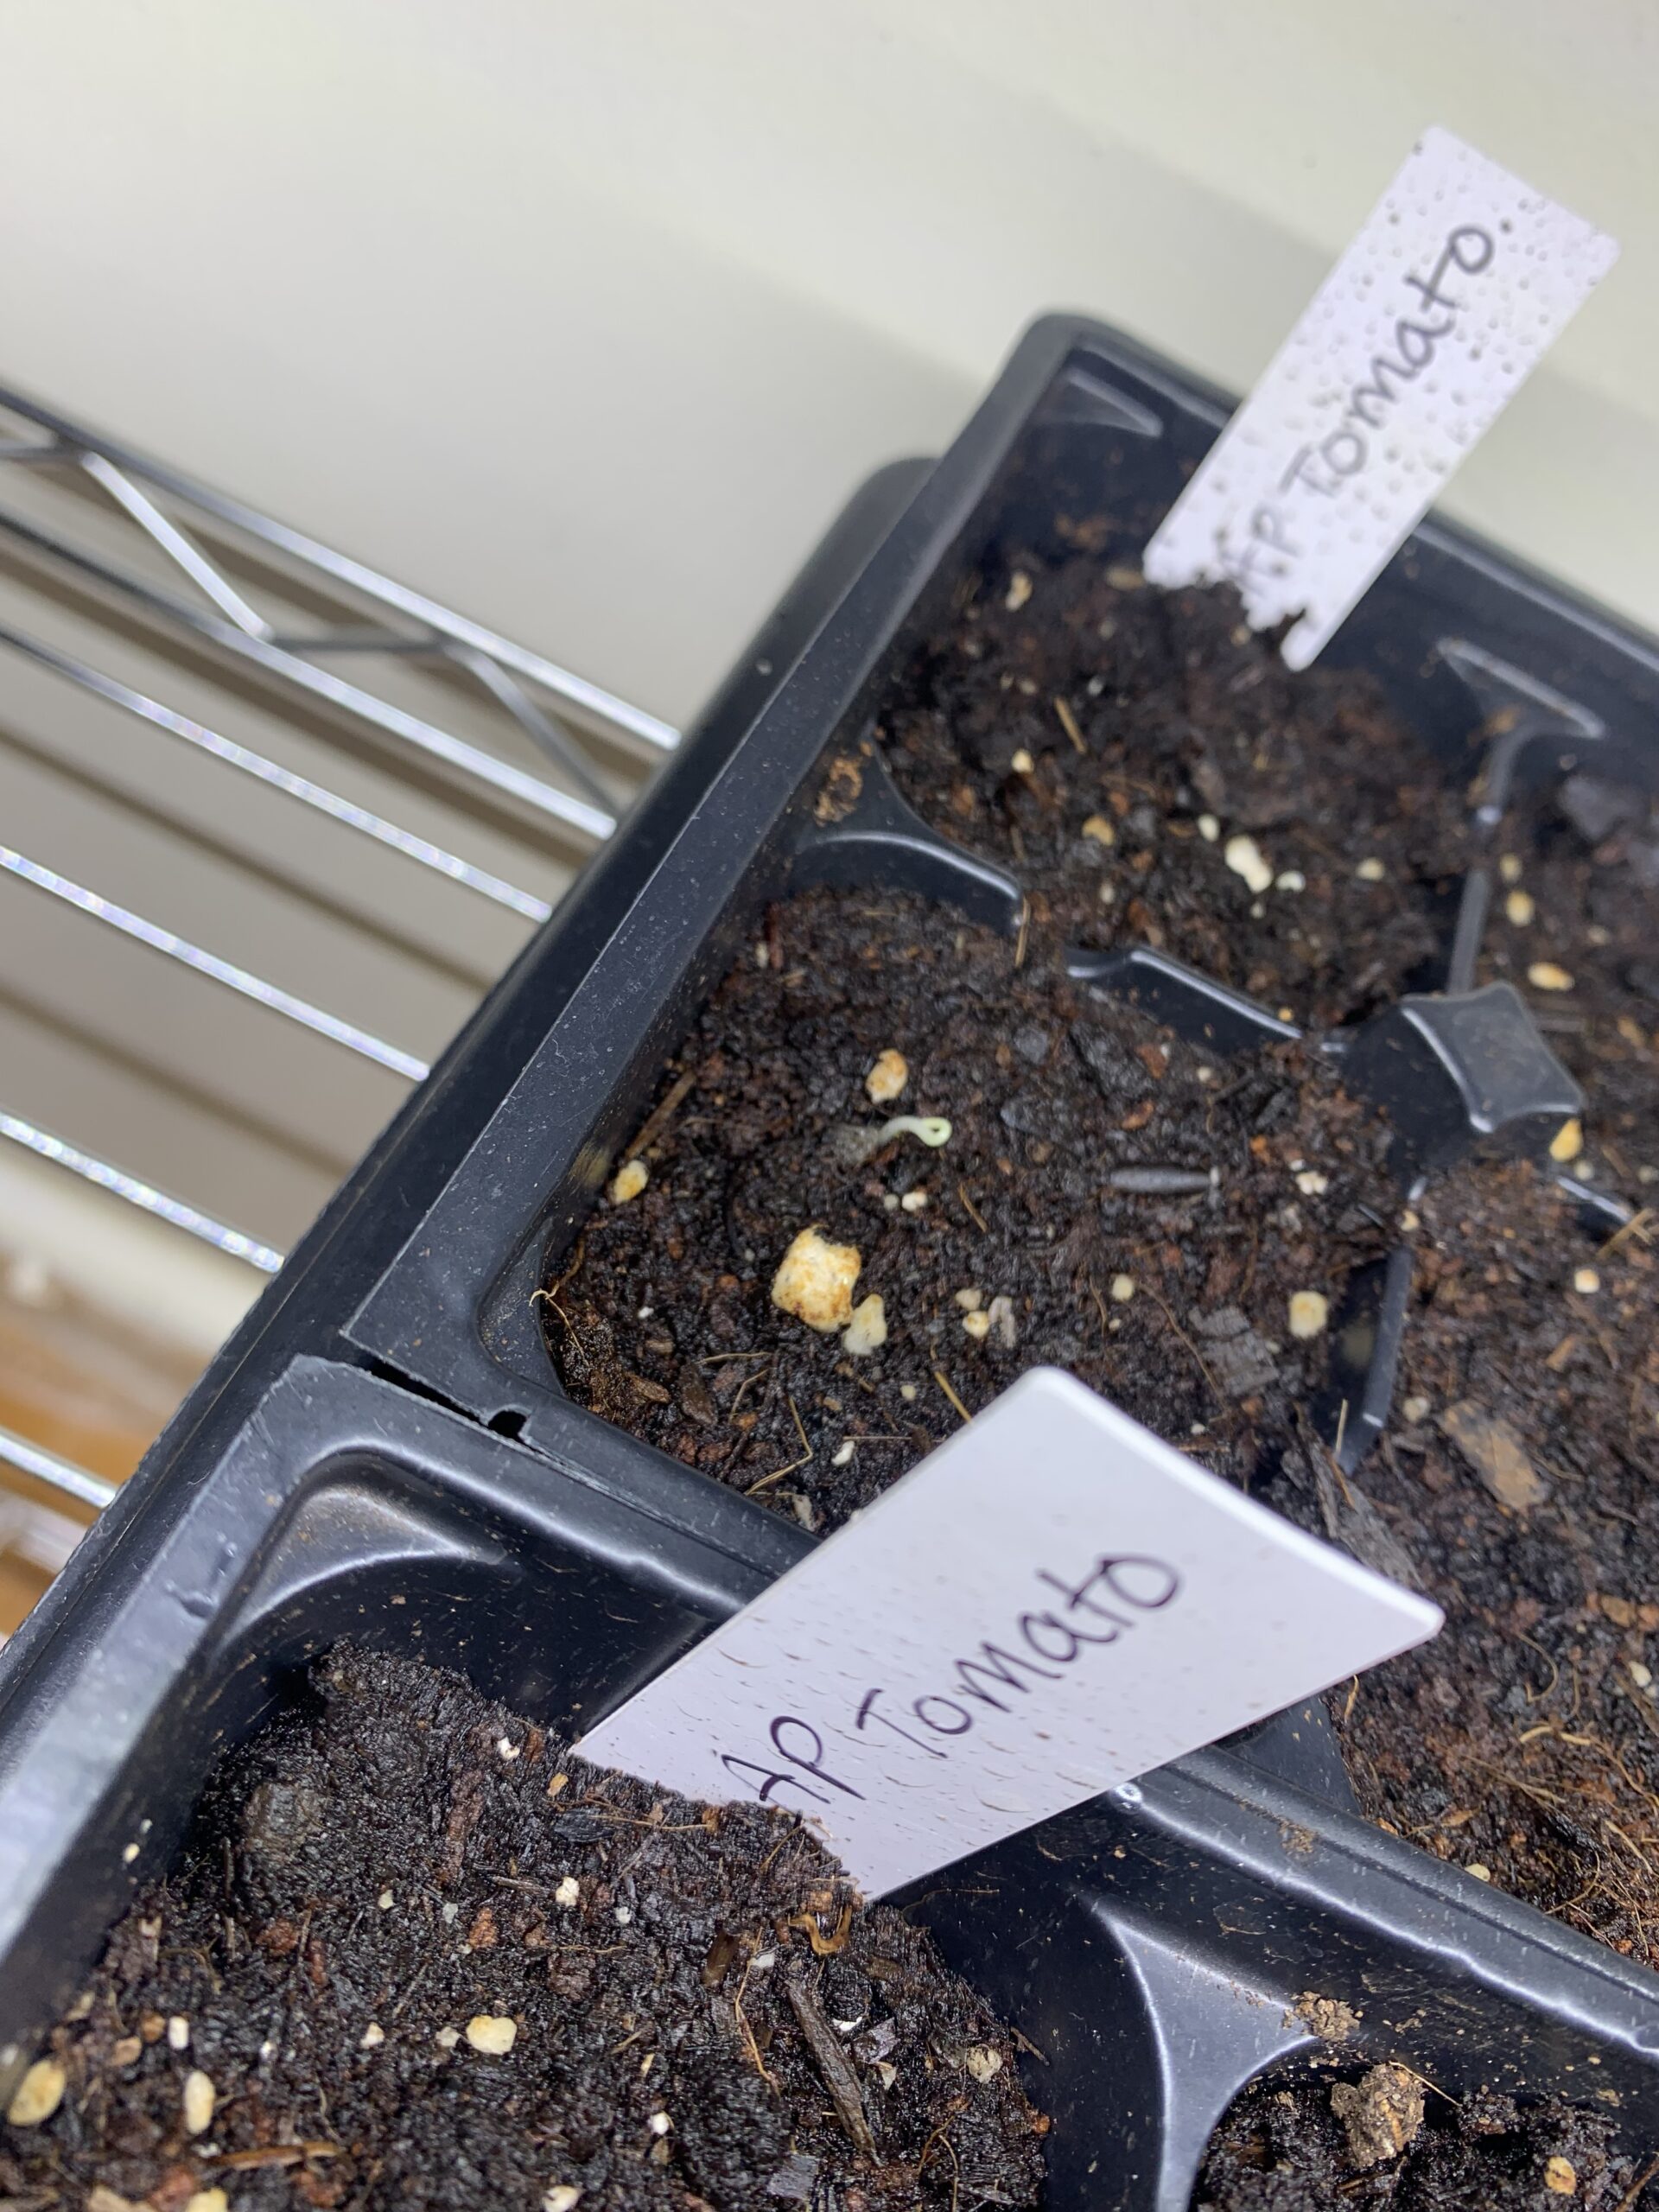
- Labels and Marker: Clearly label each container with the tomato variety and date of planting.
Step-by-Step Guide to Starting Tomato Plants From Seed Indoors
Now that you have your supplies, let's walk through the process of starting tomato plants from seed indoors:
Step 1: Sowing the Seeds
Moisten the seed starting mix thoroughly, but avoid making it soggy. Fill your seed starting trays or containers with the moistened mix, leaving about half an inch of space at the top. Sow the tomato seeds about ¼ inch deep, placing 2-3 seeds per cell or container. This increases the chances of at least one seed germinating.
Cover the seeds lightly with more seed starting mix and gently pat it down. Water the soil gently using a spray bottle or watering can with a fine rose. The goal is to moisten the soil without dislodging the seeds.
Step 2: Creating the Ideal Germination Environment
Cover the seed starting trays with a humidity dome or plastic wrap to create a greenhouse effect. This will help retain moisture and increase the humidity around the seeds, which is essential for germination. Place the trays in a warm location, ideally on a heat mat, to maintain a consistent temperature of 75-85°F. Check the soil moisture daily and mist with water as needed to keep it consistently moist.
Step 3: Providing Light and Ventilation
Once the seedlings emerge (typically within 5-10 days), remove the humidity dome or plastic wrap. Place the trays under grow lights, positioning the lights a few inches above the seedlings. Adjust the lights as the seedlings grow to maintain the proper distance. Provide 14-16 hours of light per day. Good ventilation is also important to prevent fungal diseases. A small fan can help circulate air around the seedlings.
Step 4: Thinning Seedlings
Once the seedlings have developed their first true leaves (the leaves that appear after the initial seed leaves), thin them to one seedling per cell or container. Choose the strongest, healthiest seedling and carefully snip off the others at the soil line. Avoid pulling them out, as this can disturb the roots of the remaining seedling.
Step 5: Watering and Fertilizing
Water the seedlings regularly, allowing the soil to dry slightly between waterings. Avoid overwatering, as this can lead to root rot. Once the seedlings have developed several sets of true leaves, begin fertilizing them with a diluted liquid fertilizer specifically formulated for seedlings. Follow the instructions on the fertilizer package carefully. A balanced fertilizer with an N-P-K ratio of 10-10-10 or 5-5-5 is generally suitable.
Hardening Off Your Tomato Plants
Before transplanting your tomato plants outdoors, you need to "harden them off." This process gradually acclimates the seedlings to outdoor conditions, reducing the risk of shock. Start by placing the trays outdoors in a sheltered location for a few hours each day, gradually increasing the amount of time they spend outdoors. Protect the seedlings from direct sunlight, strong winds, and frost. After about a week or two of hardening off, the tomato plants will be ready to transplant into your garden.
Troubleshooting Common Issues When Growing Tomato Plants From Seeds Indoors
Even with the best planning, problems can arise. Here are some common issues and how to address them:
- Leggy Seedlings: This is often caused by insufficient light. Ensure your seedlings are getting enough light, either from a sunny window or grow lights. Place the lights closer to the seedlings if necessary.
- Damping Off: This fungal disease can cause seedlings to collapse and die. Prevent it by using a sterile seed starting mix, providing good ventilation, and avoiding overwatering.
- Yellowing Leaves: This could indicate nutrient deficiencies. Fertilize the seedlings with a diluted liquid fertilizer.
- Pests: Keep an eye out for pests like aphids and spider mites. Treat infestations with insecticidal soap or neem oil.
Starting tomato plants from seed indoors is a fulfilling experience that allows you to grow your favorite varieties and enjoy a bountiful harvest. By following these steps and addressing any challenges that arise, you'll be well on your way to a garden filled with delicious, homegrown tomatoes.